Top things to know about charging an EV at home
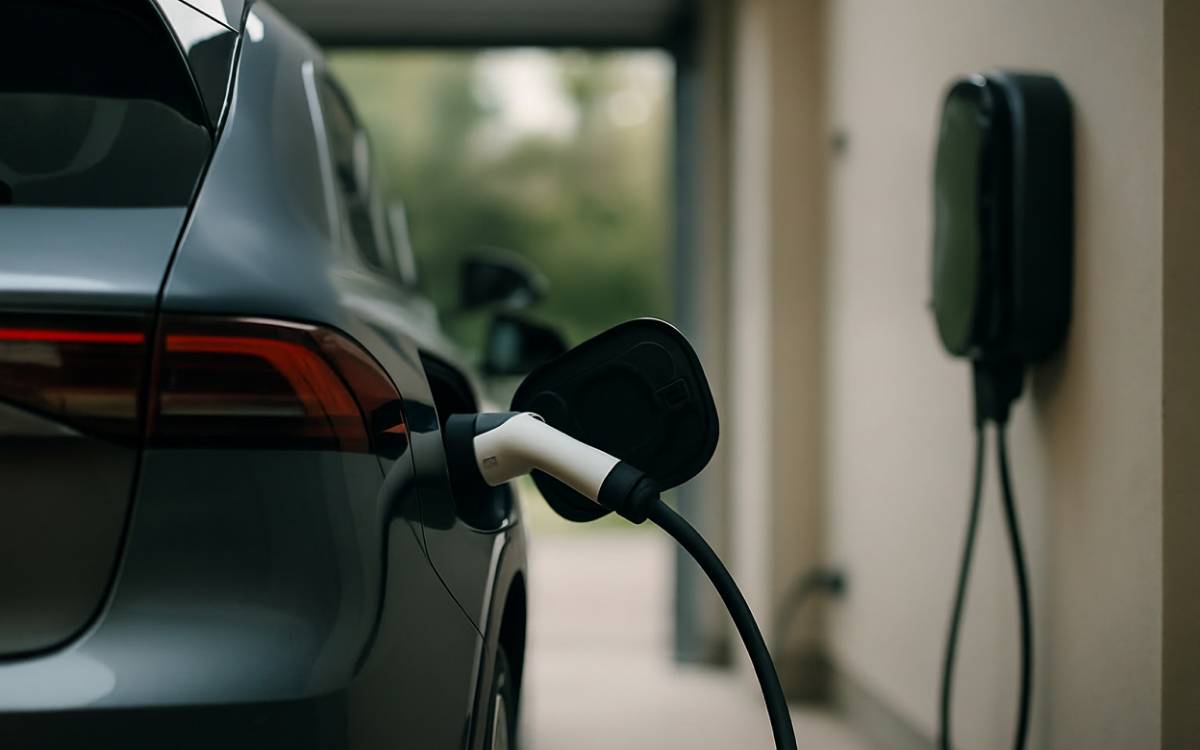
A charging station can be right in the driveway or garage for electric vehicle owners. This is because they can conveniently charge their cars overnight right at home. Additionally, home charging is generally more affordable per mile than gas, especially when owners consider using typical residential electricity rates. So, instead of heading to a nearby charging station, electric car owners can easily recharge their vehicles at home overnight.
Levels of home charging
Home EV charging is generally available in two main levels, each designed for different needs. Level 1 charging uses a standard 120-volt household outlet, which is similar to plugging in a toaster or vacuum. It adds just a few miles of range per hour of charging. Car owners who have plug-in hybrids or those who need to cover low daily mileage may find this option useful for overnight charging.
Level 2 charging, on the other hand, uses a 240-volt circuit, similar to the one for a clothes dryer or a dedicated hard-wired unit. This setup is often used to deliver a faster charge. This means that about 12 to 40 miles of range per hour can easily be added to the car’s charge, depending on the power of the charger and the car’s onboard system. A licensed electrician is usually hired to install the system. Besides that, car owners need to ensure that the installation process complies with local codes and that everything meets safety standards.
Step-by-step home EV charger installation
Most home EV chargers can be set up with a few basic steps. Some manufacturers might need additional equipment and tools.
Assess electrical capacity
A licensed electrician can be hired to inspect the home’s electrical panel. They can confirm if there is enough capacity and available amperage for a Level 2 charger, typically in the 40–50 amp range.
Choose the location
Car owners can consider a spot, such as a garage wall or an outdoor post, near the EV’s usual parking area. They should ensure that the charger is wall-mounted or pedestal-style. If they choose to install it outdoors, they must weatherproof it with a cable long enough (20–25 feet) to reach the car’s port easily.
Select and purchase equipment
There are several available from top brands, such as ChargePoint’s Home Flex, which offers up to 50 amps of charging capacity and is Wi-Fi/app-enabled. It costs around $700–900 for a 23-foot cable. Another top provider is Wallbox Pulsar Plus with 40 amps and smart features. Its price is about $600–800 for a 25-foot cable. Meanwhile, brands like JuiceBox 40 have 40 amps with scheduling/voice integration. Its price is about $650–850. For affordable options, there are providers like the Grizzl-E Classic with 40 amps, priced around $400–600.
Obtain permits
A car owner must check the local building codes, as many areas need a permit for electrical work. The electrician can handle this to meet safety standards.
Install the charger
A dedicated wiring should be run from the panel to the location. Then, the unit can be mounted and connected securely. It is recommended to test the circuit with breakers and, if needed, protective devices such as GFCI.
Test and activate
Finally, plug in the EV and run a full charge cycle. The app connected to the car can be used to check the operation, scheduling, and energy monitoring.
What home charging really costs
With home EV charging, daily costs can be easily estimated and kept lower than those for conventional fuel. In most cases, charging timing plays an important role in how much a car owner can save. Many chargers and EV apps allow scheduling for overnight sessions during off-peak utility rates. This helps further lower the electric bill. Also, there are smart chargers that display the energy use and estimated costs. Some of these can be seamlessly integrated with utilities’ time-of-use plans.