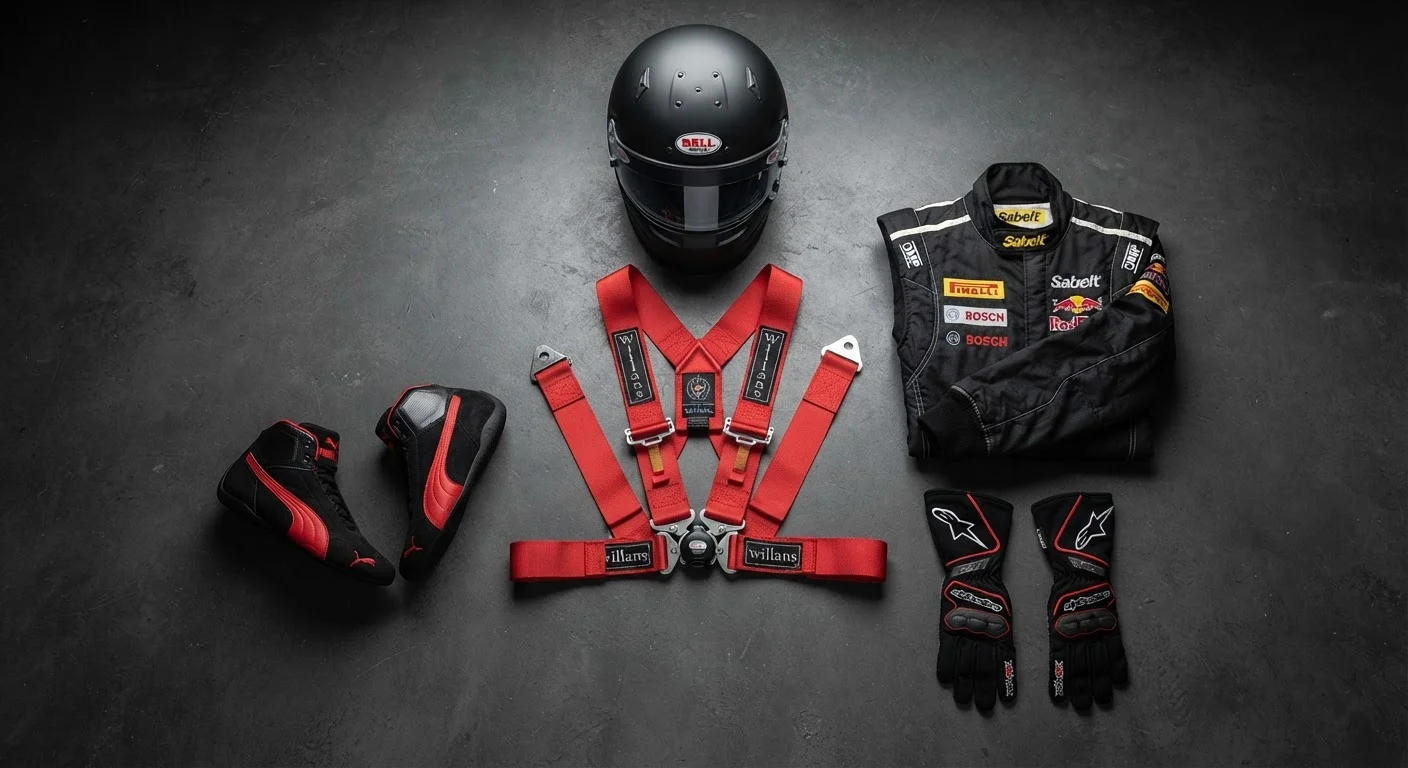
Why Fit Is a Safety Variable, Not a Comfort Preference
Most riders and drivers focus on certification labels - DOT, ECE 22.06, FIA - when evaluating safety gear, and that scrutiny is warranted. But certification testing is conducted on standardized head forms and mannequin torsos, not on the enormous variation of real human anatomy. A helmet that passed rigorous lab testing can still rotate dangerously on impact if it is even one shell size too large. A harness can allow injurious forward movement in a collision if the webbing hasn't been routed and tensioned correctly for the wearer's proportions.
Before working through the fitting steps below, it helps to be fluent in the terminology used across gear categories. The Safety Equipment Glossary covers certification acronyms, strap nomenclature, and retention system terms that appear throughout this guide.
What you will need
Tools and References You Will Need
Fitting safety gear correctly requires a small set of low-cost tools and some preparation. Gather these before starting.
Soft fabric measuring tape
Measures head circumference, chest circumference, and torso length for accurate size selection.
Manufacturer sizing chart
Translates body measurements into the brand-specific size designation - critical because S/M/L varies widely between makers.
Balaclava or helmet liner
Must be worn during helmet fitting if it will be worn in use, as it affects internal volume and retention.
Mirror or assistant
Allows visual confirmation of harness strap routing, armour placement, and helmet level alignment.
Torque or tension reference card
Some harness manufacturers publish recommended buckle tension specs; keep the card handy during harness fitting.
Step-by-Step Fitting Process
Work through each category of safety equipment in sequence. Fit one item completely before moving to the next - layering order matters for armour and harnesses especially.
Measure Before You Try Anything On
Use the fabric tape to measure head circumference at the widest point - approximately 1 inch above the eyebrows and around the occipital bone at the back. Record in centimetres. For harnesses and body armour, measure chest circumference at the fullest point and seated torso length (base of neck to seat surface). Cross-reference each measurement against the manufacturer's chart, not generic sizing guides. If your measurements fall on a boundary between sizes, note both - you will resolve this during the physical fit test.
Fit and Test the Helmet
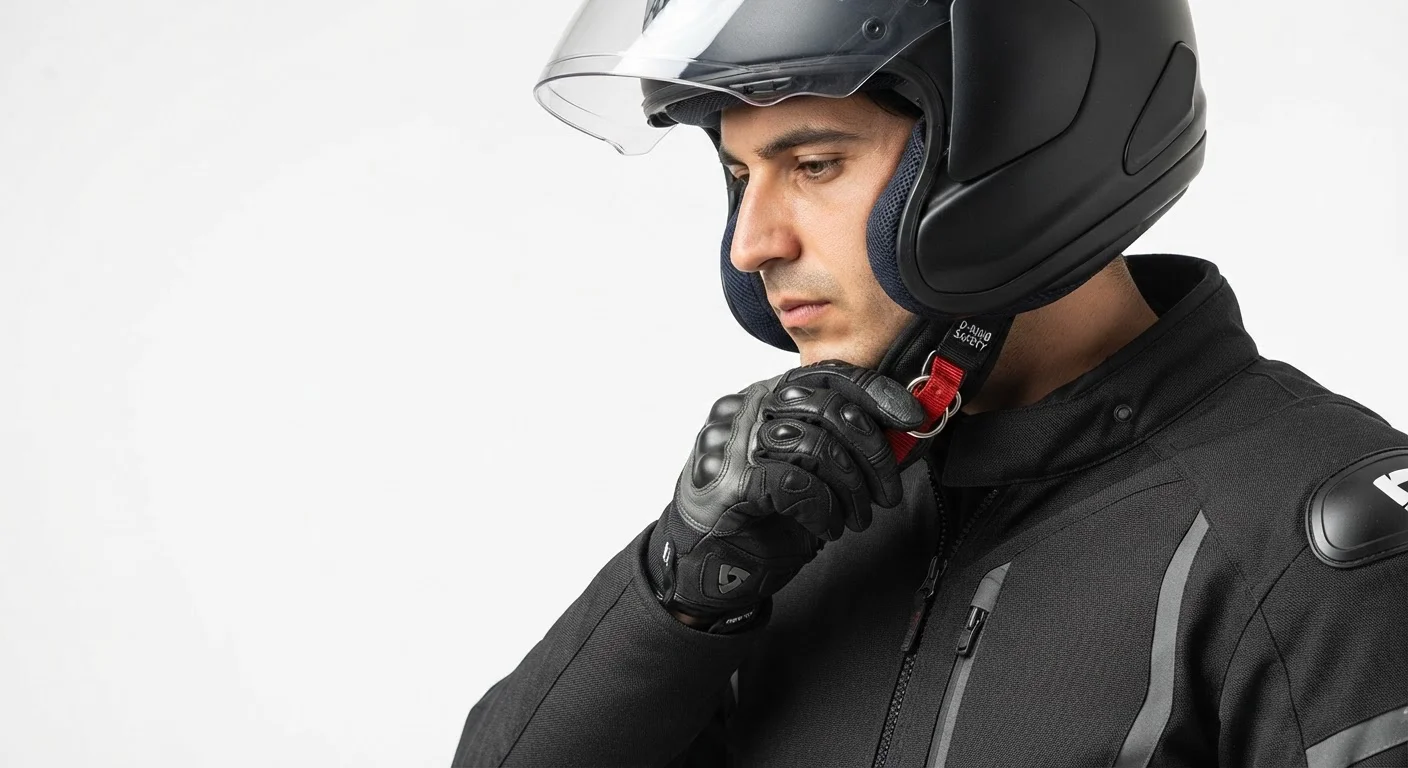
Put on any balaclava or liner you will use in practice. Spread the helmet opening and lower it straight onto your head - do not tilt forward. The helmet should require moderate, even pressure to seat fully; if it slides on without resistance, it is too large. Once on, check that the brow pad sits approximately one finger-width above your eyebrows and that cheek pads make firm, even contact without causing pain.
Perform the roll-off test: with the retention system unclipped, grasp the rear of the helmet and attempt to roll it forward and off. A correctly sized helmet should resist significantly. Then perform the lateral shake test: the helmet should move your head, not slide around it. For full-face helmets, also verify that the chin bar doesn't press against your chin when the mouth is closed.
For deeper guidance on how shell type and internal volume interact with fit, see why your helmet may not be protecting you as well as you think.
Fit and Adjust Body Armour
Put on the jacket or trousers that will carry the armour, then insert CE-rated armour pieces into their designated pockets. Sit in your normal riding or driving position - either in the vehicle or approximating it. Confirm that each armour piece is centred over the joint or impact zone it is designed to protect: elbow armour over the elbow, knee armour over the kneecap, back protector spanning the thoracic spine. Armour that has migrated to the forearm or shin is not protecting the intended zone.
Adjust jacket sleeve length and trouser leg length so that armour cannot migrate when your limbs are extended at full reach. Many jacket designs include hook-and-loop tabs specifically for anchoring armour pockets - use them.
Route and Tension the Harness
With the seat adjusted to your driving position, sit fully back against the seat. Route the lap belt low across the hip bones - not across the soft abdomen. Tension the lap belt so that two fingers slide under it with moderate effort; you should not be able to pull it away from your body significantly. Route shoulder straps over the shoulder and away from the neck, with no twist in the webbing. Tension shoulder straps so they hold you firmly back in the seat without restricting a full breath.
Check that the anti-submarine strap (if present) is routed through the seat or to the correct floor anchor point - incorrect routing undermines lap belt function entirely. Understanding each strap's role is covered in depth in the Anatomy of a Racing Harness reference.
Perform a Full Systems Check
With all gear fitted simultaneously - helmet, armour, and harness - move through the full range of motion your activity requires: reach for controls, look over each shoulder, simulate braking posture. Confirm that no item has shifted, no strap has twisted, and no armour has migrated. Check that helmet retention is still snug after movement and that harness tension has not changed. Any item that moves out of position during normal motion needs further adjustment or replacement before use.
Re-Check Fit After Every Significant Break
If you return to riding or driving after several months away, treat your gear as if it is being fitted for the first time. Padding compresses, bodies change, and webbing stretches - none of which is visible at a glance. A 10-minute refit takes far less time than recovering from a preventable injury.
Do Not Rely on Online Sizing Alone
Manufacturer size charts are a starting point, not a guarantee. Head shapes vary - oval, round, and intermediate - and two helmets in the same numerical size from different brands can fit completely differently. Whenever possible, conduct physical fit testing before committing to a helmet or harness, particularly for new-to-you gear categories. If in-person fitting is not possible, verify the return and exchange policy before purchasing.
When Fit Changes and What to Do About It
Fit is not static. Helmet EPS liner foam compresses over time - a helmet that fit snugly when new may develop noticeable play after 18-24 months of regular use. If you notice increased rotation during the roll-off test (described in Step 2), the liner has likely compressed enough to warrant re-evaluation. Similarly, harness webbing stretches under load and UV exposure, altering effective strap length and tension characteristics.
Body composition changes also shift fit. A harness adjusted for a rider who has gained or lost significant weight must be re-routed and re-buckled from scratch - simply tightening the tension adjuster is not sufficient. The same logic applies to motorcycle body armour: CE-level armour that once covered the elbow or knee joint precisely may no longer align correctly after changes to jacket or trouser cut, or to the wearer's build.
For racing harness systems specifically, installation geometry interacts directly with occupant fit. The Anatomy of a Racing Harness article explains how shoulder strap angle and lap belt routing affect restraint performance - fit at the body level and fit at the mounting level are both part of the equation.
This article is for informational purposes only. Safety gear fitting guidance here is educational in nature; for competition use or high-risk applications, consult a qualified safety technician or the gear manufacturer's fitting service.