What a DIY Oil Change Actually Demands
An oil change is often described as the most beginner-friendly maintenance task a vehicle owner can tackle at home. That characterization is partially true - the procedure itself is not complex. What is sometimes underplayed is how much preparation, correct tooling, and attention to safety the job genuinely requires before a single bolt is turned.
If you are approaching your first DIY service, it is worth reading our broader overview on replacing vehicle parts yourself first, which covers the general mindset and risk awareness that applies here too.
Below is an honest account of everything the process involves - from what you need to gather to how used oil must be handled afterward.
What you will need
With those items confirmed, you are ready to begin.
Oil drain pan
Catches used oil as it drains from the engine sump.
Floor jack and rated jack stands (or drive-on ramps)
Raises and safely supports the vehicle so you can access the underside.
Socket wrench with correct drain plug socket
Removes and reinstalls the oil drain plug at the correct torque.
Oil filter wrench
Provides grip to break loose and remove the spin-on or cartridge oil filter.
Torque wrench
Ensures the drain plug is reinstalled to the manufacturer's specified torque - neither loose nor overtightened.
Funnel
Guides fresh oil into the fill port without spillage.
Nitrile gloves and safety glasses
Protects skin and eyes from oil contact and drips during the job.
Clean rags or shop towels
Wipes up spills and allows inspection of the drain plug area after refilling.
Step-by-Step: The Full Procedure
Work methodically through each step. Skipping steps - especially around lifting safety and torque specification - is where most DIY oil change problems originate.
Never Work Under an Unsupported Vehicle
A floor jack alone is not a safe support for a vehicle you are working beneath. Always use rated jack stands or drive-on ramps designed for your vehicle's weight. A vehicle falling from a jack has caused fatal injuries. If you are unsure about your lifting setup, this job should go to a workshop.
Gather your materials and verify specifications
Before purchasing anything, open your owner's manual and note the required oil viscosity grade (e.g., 5W-30), total oil capacity in quarts, and the oil filter part number. Purchase a new filter and exactly the oil type specified - substituting a different grade without manufacturer guidance is not recommended. Pick up a new drain plug washer if your vehicle uses a crush washer rather than a reusable gasket.
Warm the engine briefly, then let it cool
Run the engine for two to three minutes - just long enough to slightly warm the oil so it flows more freely when drained. Then shut the engine off and wait at least 20-30 minutes. This reduces burn risk significantly while still allowing the oil to drain efficiently. Do not attempt this procedure on a fully cold engine that has been sitting overnight, as the oil will drain slowly and incompletely.
Raise and support the vehicle safely
Position your floor jack under the manufacturer-specified jack point (shown in your owner's manual). Raise the vehicle and immediately place rated jack stands under the designated support points before going beneath the car. If using drive-on ramps, ensure the vehicle is in park with the parking brake engaged and wheels chocked. Confirm the vehicle is stable before proceeding. Never rely on a floor jack alone as the sole support.
Remove the drain plug and drain the oil
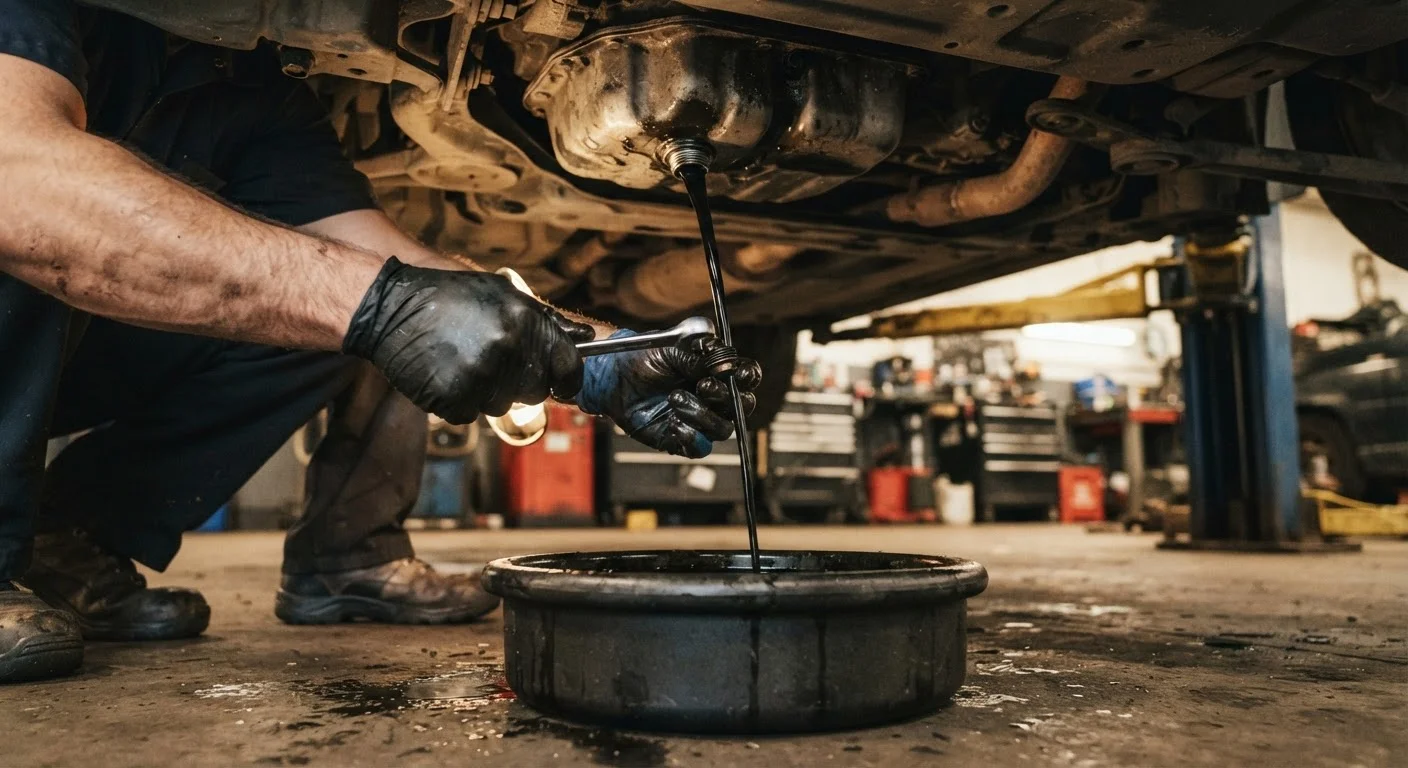
Position your drain pan under the oil pan drain plug - the lowest point of the engine sump. Using the correct socket, loosen the drain plug counterclockwise. Once it is finger-loose, remove it carefully by hand, keeping your arm clear of the oil stream. Allow the oil to drain fully - typically five to ten minutes. Inspect the drain plug threads and the sealing surface for damage before reinstallation.
Replace the oil filter
Move the drain pan under the oil filter location. Use an oil filter wrench to loosen the filter counterclockwise; expect residual oil to spill. Before installing the new filter, lightly coat the new filter's rubber gasket with fresh oil - this ensures a proper seal and makes future removal easier. Hand-tighten the new filter until the gasket contacts the mounting surface, then turn it an additional three-quarter turn. Do not use the filter wrench to tighten - overtightening damages the gasket and can cause leaks.
Reinstall the drain plug and refill with fresh oil
Install a new crush washer if required, then hand-thread the drain plug clockwise until snug. Use a torque wrench to tighten to the manufacturer's specified torque (commonly 20-30 ft-lbs, but always verify in your manual - overtightening strips threads and undertightening causes leaks). Lower the vehicle back to the ground. Remove the oil filler cap on top of the engine, insert a funnel, and pour in the specified quantity of fresh oil. Replace the filler cap securely.
Check for leaks, verify oil level, and dispose of used oil
Start the engine and let it idle for 60-90 seconds. Watch the oil pressure warning light - it should extinguish within a few seconds. Shut the engine off, wait two minutes for the oil to settle, then pull the dipstick, wipe it clean, reinsert fully, and check the level. It should read between the minimum and maximum marks. Inspect the drain plug and filter area for any drips. Transfer used oil into a sealed container and take it to a recycling drop-off point.
Hot Oil Burns - Allow Engine to Cool
Engine oil and the drain plug area can remain dangerously hot for 20-30 minutes after the engine is switched off. Allow the engine to cool sufficiently before reaching under the vehicle. Residual heat can cause serious burns even when oil appears to have stopped flowing.
Recycle Used Oil Responsibly
Most auto parts retailers and municipal recycling centers accept used motor oil at no charge. Never pour used oil down a drain, into soil, or into household waste - it is a regulated waste product. Store used oil in a sealed, labeled container until you can drop it off.
When It Makes More Sense to Visit a Workshop
A DIY oil change is a reasonable task for mechanically confident owners with the right setup. It is not always the practical choice. If your vehicle has an unusually located oil filter (common on some transversely mounted engines), requires a specialized tool to access the drain plug, or sits too low to safely lift with standard equipment, the time and effort cost may outweigh any savings.
Vehicles under powertrain warranty may also have specific oil change documentation requirements - confirm with your warranty terms before proceeding independently.
It is also worth challenging the assumption that oil always needs changing at a fixed mileage interval. Common maintenance myths - such as the once-universal 3,000-mile rule - do not apply to most modern vehicles using full-synthetic oil. Consult your owner's manual's oil life monitoring guidance rather than defaulting to outdated conventions.
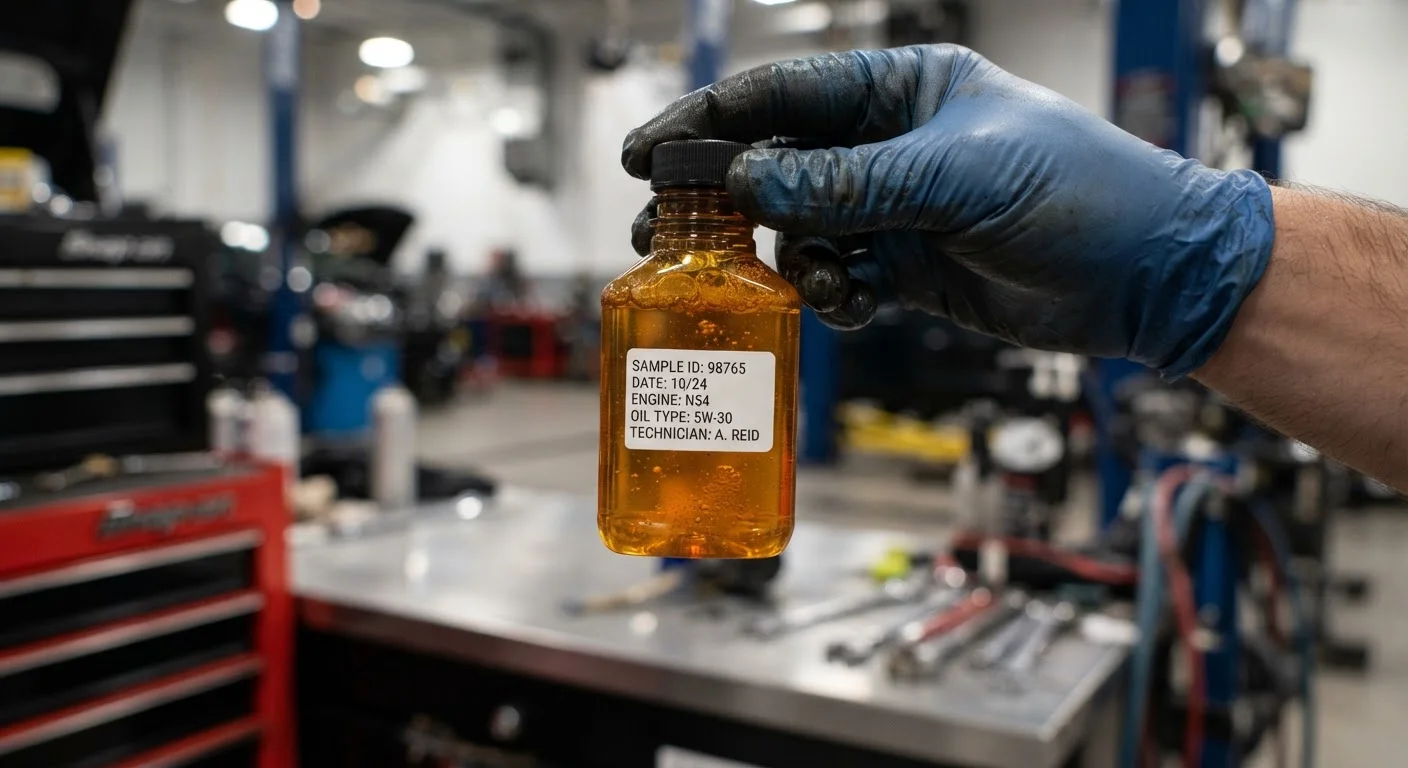
If anything during the procedure looks unfamiliar - unusual sludge on the drain plug, metal particles in the old oil, or an oil level that dropped significantly between changes - those are diagnostic signals worth investigating further. Our guide on what vehicle self-diagnosis realistically involves outlines how to interpret such findings and when to involve a professional.
This article is intended for general informational purposes. Always consult your vehicle's owner's manual and follow manufacturer specifications. If you are unsure about any step, consult a qualified mechanic before proceeding.