Understanding the Three Tank Systems
Every RV with a bathroom and kitchen relies on three distinct water systems working in parallel. Understanding how they differ is the first step toward confident RV water management - and it's foundational knowledge whether you're weekend camping or living on the road full-time. For a broader introduction to how RV systems fit together, see our beginner's guide to RV life.
Fresh Water Tank
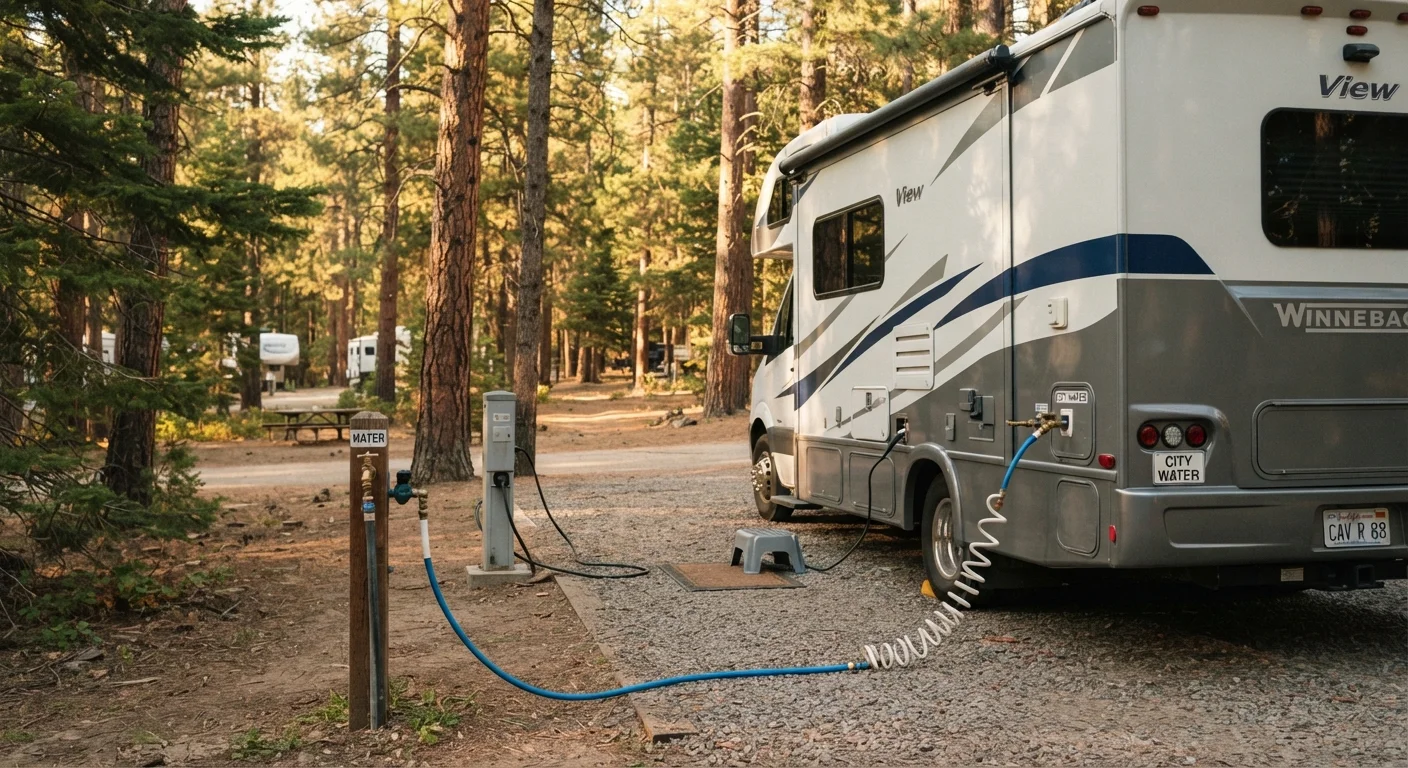
This tank stores potable water for drinking, cooking, showering, and flushing. Capacity varies widely - small travel trailers may hold 20-30 gallons, while large Class A motorhomes can carry 80-100 gallons or more. You can fill it via a dedicated fill port using a drinking-water-safe hose (white or blue, never a standard garden hose), or connect directly to a campsite spigot using a city water connection.
Grey Water Tank
Grey water collects all wastewater from sinks and showers - everything except toilet waste. Because it receives daily use from multiple sources, grey tanks fill surprisingly fast. A grey tank is typically 30-50 gallons and is separate from the black tank, though some smaller rigs combine them. The layout of your bathroom can affect how quickly your grey tank fills; the wet bath vs. dry bath distinction is worth understanding here.
Black Water Tank
The black water tank holds toilet waste exclusively. It typically ranges from 15 to 40 gallons. Because its contents are hazardous, it requires the most careful handling. Never dump black water anywhere other than a licensed dump station or full-hookup campsite sewer connection. Black tanks should always have adequate water added with each flush - dry tanks develop hardened waste that is extremely difficult to clear.
What you will need
How to Conserve Water on the Road
Fresh water is a finite resource on any trip without full hookups. Small habits accumulate into significant savings - often the difference between refilling every two days versus every five.
- Take navy showers: Wet down, turn off the water, lather, then rinse. A full shower can be completed in under two gallons.
- Wash dishes in a basin: Fill a small dishpan rather than running water continuously. Dump the dishwater into the grey tank via the sink drain.
- Flush conservatively: Add only the water needed to keep the black tank from drying out - typically a short burst, not a prolonged flush.
- Monitor tank gauges daily: Most RVs have panel-mounted tank monitors. Check them every morning so you're never caught off guard.
- Use waterless products where practical: Waterless hand sanitizers and dry shampoo can stretch your supply during remote camping.
The Two-Gallon Rule for Fresh Water
Many experienced RVers target two gallons per person per day as a baseline for boondocking - camping without hookups. This covers drinking, minimal cooking, dishwashing, and a navy shower. Once you know your household's actual usage rate, you can accurately predict when you'll need to refill.
Step-by-Step: Dumping Your Tanks Safely
Dumping tanks is the task new RVers dread most, but with the right process and equipment it becomes routine. Always dump black water before grey - the grey water helps flush residual waste from the sewer hose.
Gather your supplies before approaching the dump station
You will need a sewer hose (a 10-foot section is standard; 20-foot is more versatile), a sewer hose support if desired, disposable or reusable chemical-resistant gloves, and a bucket of water for rinsing. Keep everything in a dedicated compartment, separate from food or living supplies.
Position your RV and connect the sewer hose
Pull up so your sewer outlet is directly above the dump station inlet. Remove the outlet cap from your RV, connect one end of the sewer hose securely, and insert the other end firmly into the dump station opening. Many RVers use a hose support to keep the hose angled downward for better flow.
Open the black water valve first
Pull the black water valve handle fully open. Allow the tank to drain completely - this typically takes 1-3 minutes depending on tank size and how full it is. Do not rush this step. Once flow has stopped, close the black water valve before proceeding.
Open the grey water valve to flush the hose
With the black tank valve closed, open the grey water valve. The soapy grey water will flush through the sewer hose, clearing residue from the black tank dump. Allow it to drain fully, then close the grey tank valve.
Rinse the tanks and hose, then add treatment chemicals
Many dump stations have a rinse hose. Use it to flush a few gallons into the black tank via the toilet or a tank-rinse port if your RV has one. Disconnect and rinse the exterior of your sewer hose, cap all connections, and stow equipment. Add the recommended amount of tank treatment chemical and 1-2 gallons of fresh water to the black tank before driving away.
Never Dump Grey or Black Water on the Ground
Dumping either grey or black water onto the ground, into storm drains, or into waterways is illegal in virtually all U.S. jurisdictions and subject to significant fines. It is also a serious environmental and public health violation. Always use a licensed dump station, campground sewer connection, or an approved portable waste container.
Keeping Tanks Clean and Odor-Free
Odor and sensor fouling are the two most common tank problems RVers encounter. Both are largely preventable with consistent habits.
For black tanks, use enzyme-based or formaldehyde-free tank treatment chemicals after every dump. These break down waste and control odor without damaging tank seals or sensors. Avoid products with formaldehyde, which is banned at many campgrounds and environmentally harmful.
Grey tanks can develop odor from food particles and soap buildup. Pouring a cup of baking soda down the kitchen sink drain weekly and using a tank cleaner monthly helps. Keep the grey tank valve closed until you're ready to dump - leaving it open at a full-hookup site causes solids to accumulate and dry out near the valve.
Sensor accuracy degrades when waste coats the tank walls. Periodically filling the tank with water and a cleaning solution, then driving on a rough road, can dislodge buildup and restore accurate readings. Some RVers dedicate a specific trip to a thorough tank flush before long-term storage.
For more on how bathroom configuration interacts with water and waste systems, explore RV interior layouts. And if you're still choosing your first rig, our complete beginner's guide to RV classes explains how tank capacities vary across vehicle types.
Formaldehyde Tank Products Are Widely Restricted
Many campgrounds, RV parks, and state parks prohibit the use of formaldehyde-based tank treatments because the chemical passes through to sewer and septic systems. Check the rules at your destination and default to enzyme-based or biodegradable products. Using a banned chemical can result in being asked to leave a campground.