Why E-Bikes Need Their Own Pre-Ride Routine
E-bikes share most mechanical components with conventional bicycles - tires, brakes, drivetrain, frame - but add a layer of electrical systems that standard cycling checklists don't cover. A failing motor connection, a low battery, or a loose display mount can strand you or create unexpected handling behaviour, particularly at assisted speeds.
The checklist below is structured to work through both layers: the mechanical foundation first, then the electrical systems specific to e-bikes. For riders who also want a deeper look at the mechanical side, the pre-ride safety inspection routine covers brakes, headset, and drivetrain in greater detail.
Running these checks before every ride is the most reliable way to catch degradation early. E-bike components - especially lithium battery packs - can decline gradually and silently. Building the habit also extends component life over time.
Motor Cut-Off and Brake Sensor Interaction
Most e-bikes include motor inhibitors - sensors in the brake levers that cut motor power when you brake. If these sensors malfunction, the motor may not disengage when expected, which can increase stopping distances. During your brake check, verify not only that the brakes engage firmly but also that the motor cuts out when a lever is pulled. Consult a technician if the motor continues running through braking.
The Complete Pre-Ride Checklist
Work through each group in order. The electrical checks come first because a battery or system fault may affect whether the ride is practical at all. Mechanical checks follow, mirroring the sequence most technicians use: contact points, stopping power, rolling surfaces, then drivetrain.
Battery & Electrical Systems
Brakes
Tires & Wheels
Cockpit, Frame & Drivetrain
If you notice any issue you're unsure how to assess or resolve - particularly anything involving the motor, battery pack, or wiring - consult a qualified e-bike technician before riding. Electrical faults on e-bikes are not always visible and can worsen with use.
Do Not Ride With Error Codes Displayed
If your e-bike display shows an error code at startup, do not assume it's safe to proceed. Error codes indicate fault conditions ranging from sensor miscommunication to battery management system alerts. Consult your e-bike owner's manual to interpret the specific code, and have the system assessed by a qualified technician before riding. Riding with an active fault can worsen the underlying issue or create unpredictable assist behaviour.
Tools and Resources Worth Having on Hand
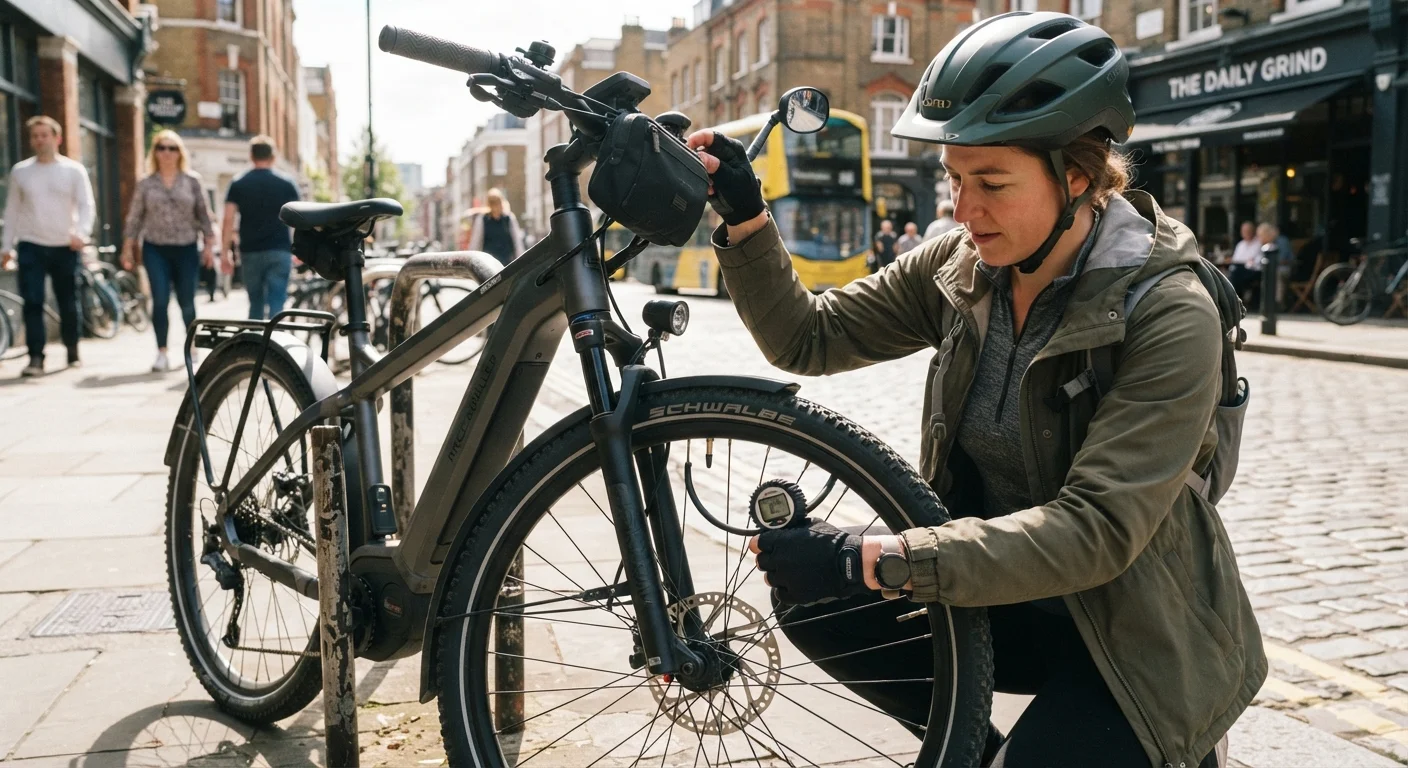
Most pre-ride checks require only your hands and eyes. A few simple tools allow you to address minor findings on the spot rather than postponing the ride.
Floor pump with pressure gauge
Accurately inflates tires to the sidewall-specified pressure range before every ride.
Hex key set (Allen keys)
Tightens stem, saddle clamp, and cockpit bolts if any are found loose during the check.
Chain lubricant
Applied to a dry chain before riding to reduce drivetrain wear, especially under motor-assisted load.
Clean cloth or rag
Wipes excess lubricant from the chain and inspects brake surfaces for contamination.
Portable tire inflator (CO₂ or mini pump)
Allows mid-ride inflation if a slow puncture is detected before departure.
For a deeper understanding of how battery habits affect long-term performance, the guide on keeping an e-bike battery healthy over the long term is worth reading alongside this checklist. New e-bike owners looking for broader orientation should also explore the new e-bike owner's complete starting point.