How E-Bike Motors and Assist Systems Work
An e-bike pairs a conventional bicycle drivetrain with an electric motor, a battery, and a controller that manages how much assist the motor delivers. Understanding these three elements helps you get the most from your bike from day one.
Watt-hour (Wh)
A unit that measures how much energy a battery can store. A higher watt-hour rating generally means more range between charges.
Pedal-assist (PAS)
A mode where the motor only activates when you are actively pedaling. Sensors detect your effort or cadence and add motor power proportionally.
Torque sensor
A component that measures how hard you are pushing on the pedals and tells the motor to match that effort. Produces a smoother, more natural riding feel than cadence-only sensors.
Battery Management System (BMS)
Electronics built into the battery pack that monitor cell temperature, charge level, and current to protect the cells from damage and ensure safe operation.
IP Rating
A standardized code indicating how well a component is sealed against dust and water. A higher second digit (e.g., IPX5) means greater water resistance.
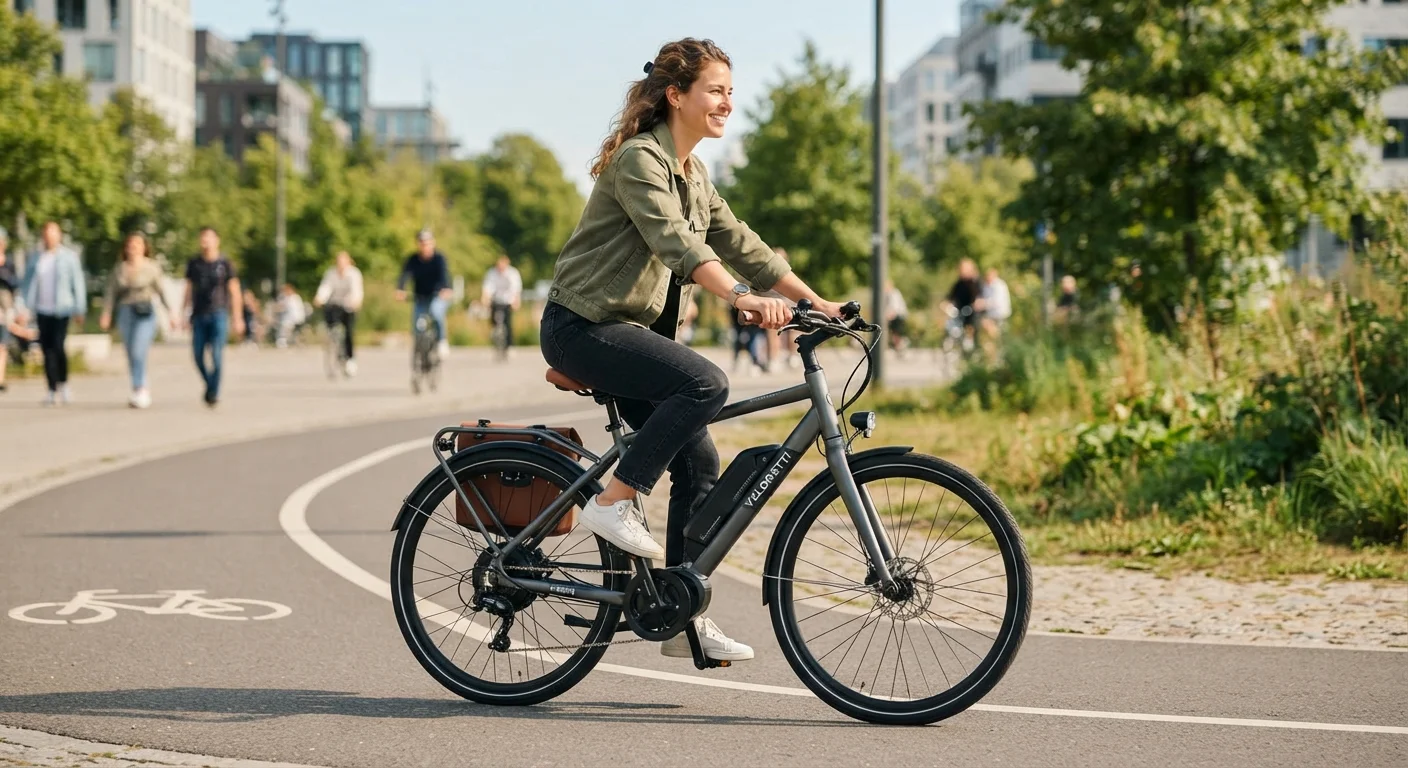
Motor placement matters. Hub-drive motors - built into the front or rear wheel - are common on commuter and entry-level e-bikes because they are mechanically simpler and cost less to produce. Mid-drive motors, mounted at the crank, work through the bike's existing gearing, which improves efficiency on varied terrain and keeps handling feel closer to a conventional bicycle. For a deeper look at how these systems interconnect, see The Anatomy of an E-Bike.
Assist is typically delivered in two ways: pedal-assist (also called PAS), where sensors detect pedaling effort or cadence and add motor output accordingly, and throttle assist, where a handlebar-mounted control engages the motor independently of pedaling. Many e-bikes offer both modes.
Understanding E-Bike Classes and Local Regulations
The US broadly categorizes e-bikes into three classes, a framework adopted by many states to determine where bikes may be ridden and at what assisted speeds.
- Class 1: Pedal-assist only, motor cuts off at 20 mph. Permitted on most bike paths and trails that allow conventional bicycles.
- Class 2: Includes a throttle, motor assistance up to 20 mph. Access rules are similar to Class 1 in most jurisdictions, though some trails restrict throttle bikes.
- Class 3: Pedal-assist only, motor cuts off at 28 mph. Generally restricted to roads and protected bike lanes; minimum age requirements apply in several states.
State and Local Rules Can Differ Significantly
The three-class framework is widely used but not universally adopted. Some states have their own definitions, speed limits, or access restrictions that differ from the standard model. Before riding on public paths, trails, or roads in a new area, verify the specific rules that apply to your bike's class in that jurisdiction.
Regulations differ not just by state but by the specific environment - a paved rail trail may follow different rules than a shared-use path in a national park. See E-Bike Regulations by Riding Context for a practical breakdown before you plan new routes.
Battery Basics and Charging Best Practices
The battery is the most expensive single component on most e-bikes, and how you treat it directly affects its useful life. Most e-bikes use lithium-ion cells, rated in watt-hours (Wh). A larger Wh figure means more energy storage and, generally, more range - though real-world distance depends on weight, terrain, and assist level.
Extend Battery Life With Smart Charging
Charge your battery after rides rather than letting it sit depleted overnight. If your charger or companion app supports a charge limit, setting it to around 80% for everyday use and topping to 100% only before longer rides can meaningfully extend cell longevity over time.
Charging habits have an outsized impact on long-term battery health. Avoid routinely charging to 100% if your charger or bike's app allows a lower limit setting, and never leave the battery fully depleted for extended periods. Store partially charged (around 40-80%) in a cool, dry environment when the bike will be unused for more than a few weeks.
Always use the charger supplied by the manufacturer or a verified compatible replacement. Third-party chargers that do not match the battery management system's specifications can cause overcharging, reduced capacity, or, in rare cases, safety hazards. If you notice significant range loss compared to when the battery was new, consult an authorized service center rather than attempting cell-level repairs yourself.
Building Safe, Confident Riding Habits
E-bikes accelerate faster and maintain higher speeds than most riders expect coming from conventional cycling. Taking time to calibrate your instincts in a low-traffic area before commuting or trail riding pays dividends in safety and confidence.
A pre-ride routine is one of the most effective habits a new owner can develop. Check tire pressure, test both brakes for firm, consistent feel, confirm the battery is sufficiently charged, and inspect the display or controller for any error codes. What to Check Before Every E-Bike Ride offers a structured checklist to make this second nature.
Wear a properly fitted helmet - many jurisdictions require it for Class 3 riders, and it is sound practice for all classes. If you are new to cycling generally and weighing which style of bike suits your lifestyle, Getting Your First Bike Right covers the foundational questions before you commit. And if you want a candid picture of real ownership - maintenance demands, storage challenges, and cost of running - E-Bike Ownership: Weighing the Trade-Offs offers a balanced perspective.