Why Scope Is Everything
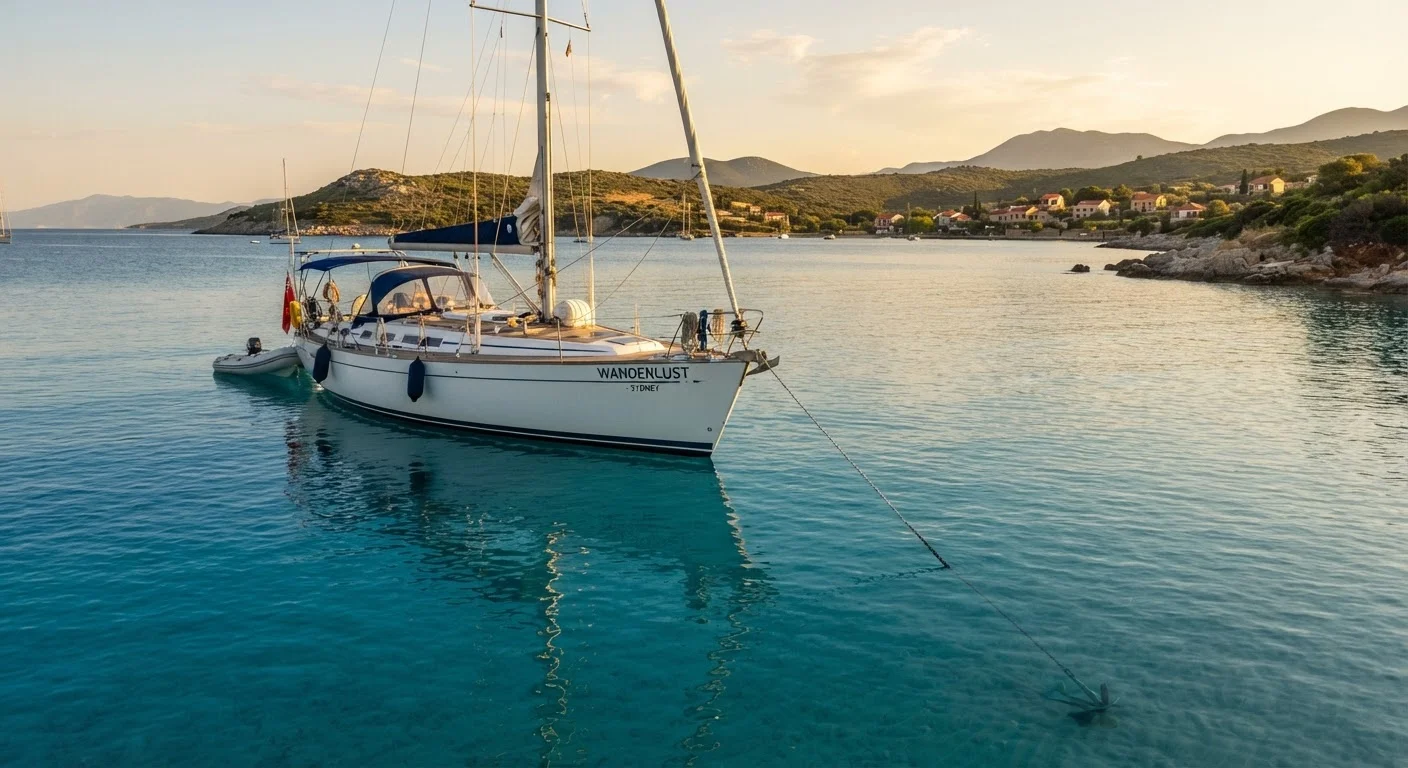
Most anchoring failures trace back to one mistake: not enough rode in the water. The anchor itself is only part of the system - the rode's length and composition determine the angle at which the anchor is pulled across the seabed. A steep upward pull lifts the anchor out of the bottom; a low, horizontal pull drives it deeper. That geometry is entirely controlled by scope.
Before you approach any anchorage, familiarize yourself with your vessel's layout, including where your bow cleat and anchor locker are positioned. Our overview of a boat's core components is a useful reference if any of that terminology is unfamiliar.
Chain leader improves holding angle
Even a short section of chain - as little as 15 to 20 feet - between your anchor and the nylon line keeps the pull angle low and horizontal on the seabed. This geometry is what allows fluked and plow anchors to dig in rather than skip. All-chain rodes are heavier and offer maximum holding, but nylon rodes with a chain leader are a practical compromise for most recreational vessels.
Bottom type matters too. Soft mud and clean sand offer excellent holding for most anchor designs. Rocky bottoms, dense grass, and hard-packed clay are problematic - anchors can skip across rock or foul in grass and never achieve a true set. Consult NOAA nautical charts, which annotate bottom composition using standard abbreviations (M for mud, S for sand, Rk for rock).
Choosing a Safe Anchorage
A well-chosen spot does most of the work before you ever drop the hook. Look for a bay or cove that blocks the dominant wind direction, with enough depth for your draft at low tide and enough room for every anchored boat in the vicinity to swing through a full 360 degrees without overlapping. That swinging radius equals your rode length - at 7:1 scope in 12 feet of water, you need roughly a 90-foot circle of clear water around your anchor point.
A dragging anchor is a serious hazard
An anchored vessel that drags undetected can strike other boats, run aground, or block a navigation channel. Never assume the anchor is holding simply because the boat appeared stationary when you walked away from the helm. Re-check bearings after any significant wind shift or increase in wave height, and use your chartplotter's drag alarm as a backup - not a substitute for active monitoring.
Weather is an anchoring variable that many beginners underestimate. A calm afternoon anchorage can become untenable if a squall moves through overnight. Reading and monitoring forecasts before you commit to an overnight stay is as important as the anchoring technique itself. If conditions are likely to deteriorate beyond a 7:1 scope's capacity, consider a marina or mooring field instead.
Step-by-Step: Dropping and Setting the Hook
The steps below walk you through the full anchoring sequence, from approach to confirmed set. Work through them in order - skipping the confirmation step is one of the most common errors recreational boaters make.
What you will need
Select your anchorage
Choose a location that offers natural protection from the prevailing wind and swell. Check your chart for bottom composition - mud and sand hold well; rock and heavy grass do not. Confirm there is enough swinging room so that when wind or current shifts, your boat cannot contact other vessels, shoals, or fixed structures. Account for tide changes that will alter your draft clearance.
Calculate the scope you need
Scope is the ratio of rode length to the depth of water measured from your bow cleat to the seabed. Add the height of your bow cleat above the waterline to your depth reading - this combined figure is your vertical distance. Multiply by your target ratio: 5:1 is a practical minimum in calm, protected conditions; 7:1 is the standard for overnight stays or when weather is uncertain.
Example: 10 ft of water + 3 ft of bow height = 13 ft vertical distance. At 7:1, you need approximately 91 ft of rode deployed.
Approach and deploy the anchor
Motor slowly into the wind or current - whichever is stronger - and come to a stop at your chosen spot. Lower (do not throw) the anchor to the bottom. As you ease the boat astern slowly under idle power or drift, pay out rode in a controlled manner. Avoid piling the chain directly on top of the anchor, which prevents it from orienting correctly on the seabed.
Set the anchor
Once you have deployed the full calculated scope, cleat off the rode at the bow. Apply slow reverse throttle - gradually increasing to about half power - for 30 to 60 seconds. Watch reference points ashore or use your chartplotter's position overlay to confirm the boat is not moving aft. If the boat continues to slide back, the anchor is dragging; retrieve and re-deploy.
Confirm the set and take bearings
After a successful set, identify two or three fixed reference points on shore - a building, a navigational marker, a distinctive tree - and note their compass bearings or record your GPS position. Check these references every 15 to 20 minutes, especially as conditions change. If bearings shift and do not stabilize as the boat swings, the anchor may be dragging.
Display the required anchor light at night
United States Coast Guard regulations require vessels at anchor in navigable waters to display an all-round white light from sunset to sunrise, visible from at least two nautical miles. On most recreational boats this is a dedicated anchor light mounted at the masthead or on a pole at the bow. Confirm yours is functioning before darkness falls.
Once the anchor is confirmed set and your bearings are recorded, securing the rode to the cleat with a proper knot completes the system. If you want to sharpen your line-handling skills, the knots every boater should know covers the most practical options for anchoring situations.
Never anchor in a navigation channel
Anchoring within a marked navigation channel is prohibited under US federal regulations and creates an immediate collision risk for commercial and recreational traffic. Always anchor clear of the channel, in water depths appropriate for your vessel, and ensure your swinging radius cannot bring you back into the channel under any wind or current direction.