Why Your Knot Selection Matters More Than You Think
Rope handling is one of those foundational boat skills that gets overlooked until something goes wrong. A dock line that slips, a fender that drops, or an anchor rode that can't be released under load - these aren't just inconveniences. They're the kind of problems that new boaters often encounter as their first genuine on-water challenge.
The good news: you don't need to memorize dozens of knots. A short list of versatile, time-tested ties will handle the vast majority of situations you'll encounter on any vessel - from a small jon boat to a trailerable cabin cruiser. What matters is tying the right knot correctly and consistently.
Before diving in, a quick terminology note: a knot is tied in a single line; a bend joins two lines together; a hitch fastens a line to an object. These distinctions matter when reading marine references, though boaters often use "knot" informally for all three.
Cleat Hitch
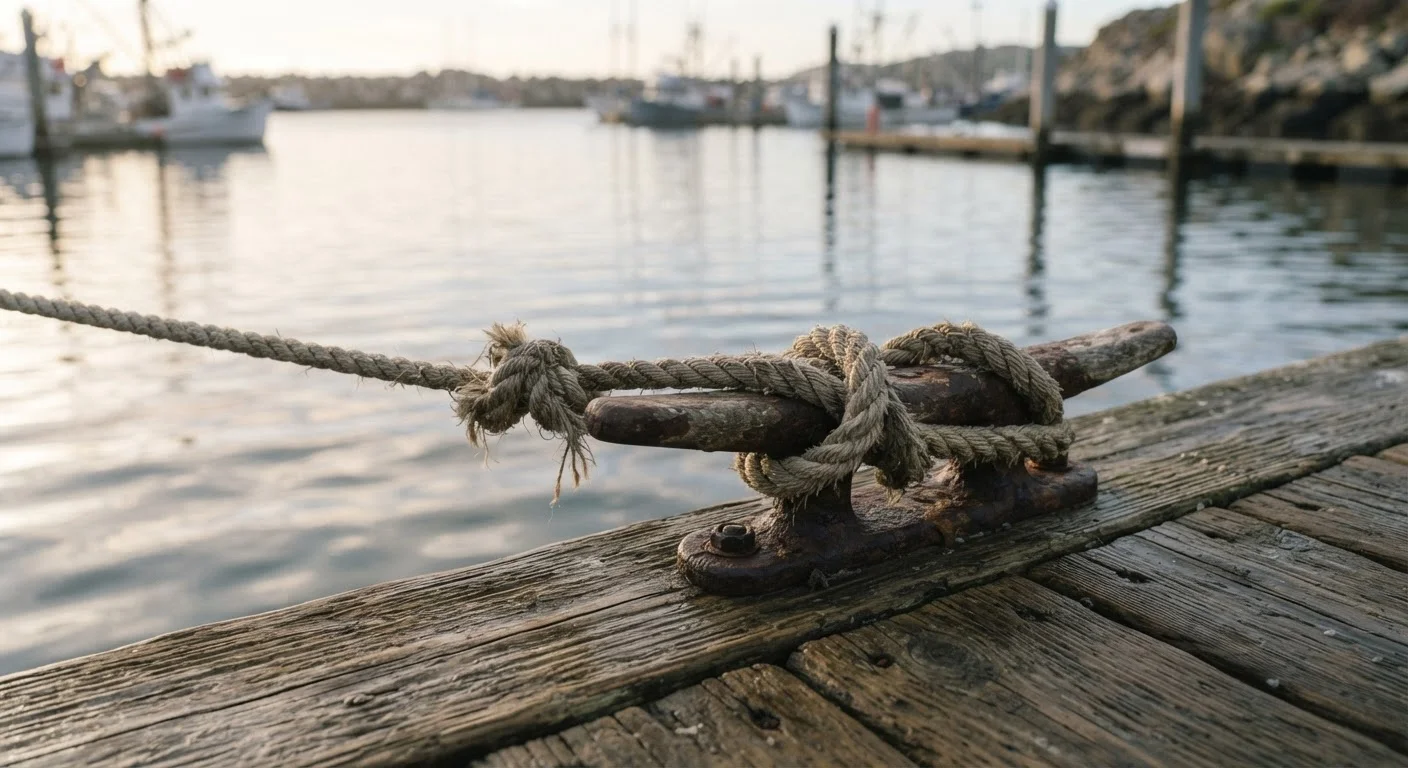
The cleat hitch is the single most-used knot in recreational boating. It secures dock lines, fender lines, and halyards to the horn cleats found on nearly every vessel and dock. Done correctly, it holds under load, won't slip, and releases instantly when needed.
How to tie it: Take a full wrap around the base of the cleat, then cross diagonally over the top to the opposite horn. Repeat the figure-eight pattern once, then finish with a locking hitch - a loop flipped over one horn. The locking hitch is what prevents the line from working loose under wave action or boat movement.
One common mistake is over-wrapping with multiple figure-eight turns. More wraps don't add security - they just make the knot harder to release in a hurry.
More wraps don't add security - they just make the cleat hitch harder to release when it matters.
Bowline
The bowline creates a fixed loop that won't tighten under load. It's used to form a loop at the end of a dock line, attach a line to a ring or piling, or create a loop for a crew member to step into during a man-overboard situation.
How to tie it: Form a small overhand loop in the standing part of the line (the working end points up through it). The classic memory device - "the rabbit comes out of the hole, around the tree, and back down the hole" - works for most learners. The finished loop should be sized appropriately for its purpose before you tighten the knot.
The bowline is easy to untie even after being loaded, which makes it far preferable to an overhand loop knot, which can jam permanently under strain.
A bowline forms a fixed loop that won't tighten under load and releases easily afterward.
Clove Hitch
The clove hitch quickly secures a line to a round piling, rail, or post. It's fast to tie and adjust - useful when you need a temporary tie or when positioning fender lines along a rail.
How to tie it: Make two round turns around the post, crossing the second turn over the first and tucking the working end under the second turn. The result is a snug, adjustable hitch that holds well under a steady load perpendicular to the post.
The clove hitch has a limitation worth knowing: it can slip when the load direction changes or if the line is under intermittent jerking load rather than steady tension. For permanent or high-stress applications, a bowline or a round turn with two half-hitches is more reliable.
The clove hitch is fast and adjustable, but can slip when load direction shifts unpredictably.
Round Turn and Two Half-Hitches
This hitch combination is one of the most secure ways to attach a line to a ring, rail, or mooring post, especially when the load direction may vary. The round turn absorbs initial shock and friction; the two half-hitches lock the line in place.
How to tie it: Pass the working end around the post twice (the round turn), then tie two successive half-hitches - each is simply an overhand knot around the standing part. The first half-hitch locks; the second provides insurance.
Unlike a clove hitch, this combination handles shifting loads well and remains easy to untie after tension. It's a practical replacement for the clove hitch any time you have a few extra seconds and want a more secure hold.
A round turn absorbs shock load and friction before the two half-hitches even take hold.
Anchor Bend (Fisherman's Bend)
Despite the name containing "bend," the anchor bend is technically a hitch - it attaches the end of an anchor rode to the anchor shackle or ring. It's specifically designed to hold under the repeated jerking load an anchor experiences when a vessel swings at rode.
How to tie it: Pass the working end through the anchor ring twice, creating two round turns. Then pass the working end under both round turns (not just one) and tie a half-hitch around the standing part. Add a second half-hitch for permanence, or seize (whip) the end to the standing part for long-term use.
A standard round turn and two half-hitches works in a pinch for anchor attachment, but the anchor bend is preferred because the working end is locked under both turns - it resists the jamming that can occur when a loaded knot is suddenly released.
The anchor bend is specifically designed to hold under the repetitive, jerking loads an anchor endures at rode.
Figure-Eight Stopper Knot
The figure-eight is a stopper knot - its purpose is to prevent a line from running through a block, cleat hole, or fairlead. On sailboats it's nearly universal at the end of sheets and halyards. On powerboats, it appears anywhere a line might inadvertently pull through a fitting.
How to tie it: Make an underhand loop in the line, then pass the working end over the standing part and back through the loop. Tighten so the resulting shape looks like a figure eight. It's larger and easier to untie than a simple overhand knot, which tends to jam in hardware under load.
This knot has low mechanical strength relative to other knots - it's not used to attach lines to fittings or create load-bearing connections. Its job is purely to act as a bulky stop at the rope's end.
The figure-eight stopper is bulkier and easier to release than an overhand knot after loading.
Building Knot Confidence Before You Leave the Dock
The only way to internalize these knots is repetition - tied slowly at first, then faster, then with your eyes closed. Tie them on a chair leg at home. Tie them in the dark. Tie them wearing gloves. A knot you can only manage under ideal conditions offers limited reliability when you're managing a tidal surge at a transient slip.
Practice With Your Actual Dock Lines
Knot behavior varies with line diameter, material, and stiffness. A bowline tied in a stiff three-strand nylon dock line feels different from one tied in a flexible braided sheet. Practice with the lines you actually use on your boat so muscle memory translates directly to real situations.
Pair your rope-handling practice with a solid understanding of your boat's cleats, clevis pins, and anchor hardware - knowing where each line leads makes every tie-up faster and more deliberate. And once you're confident in your knots, study the broader picture of proper anchor scope and set technique - because the best anchor knot in the world can't compensate for insufficient rode length.