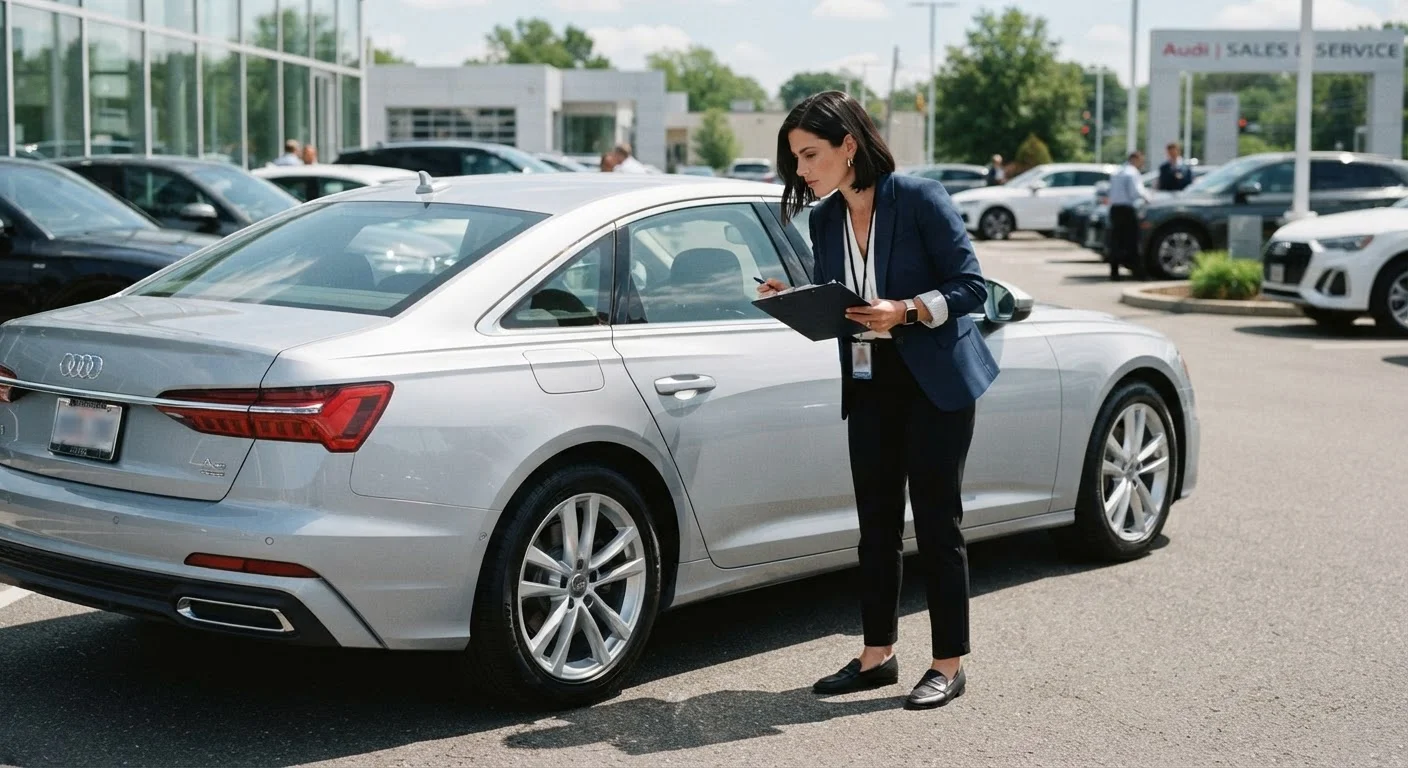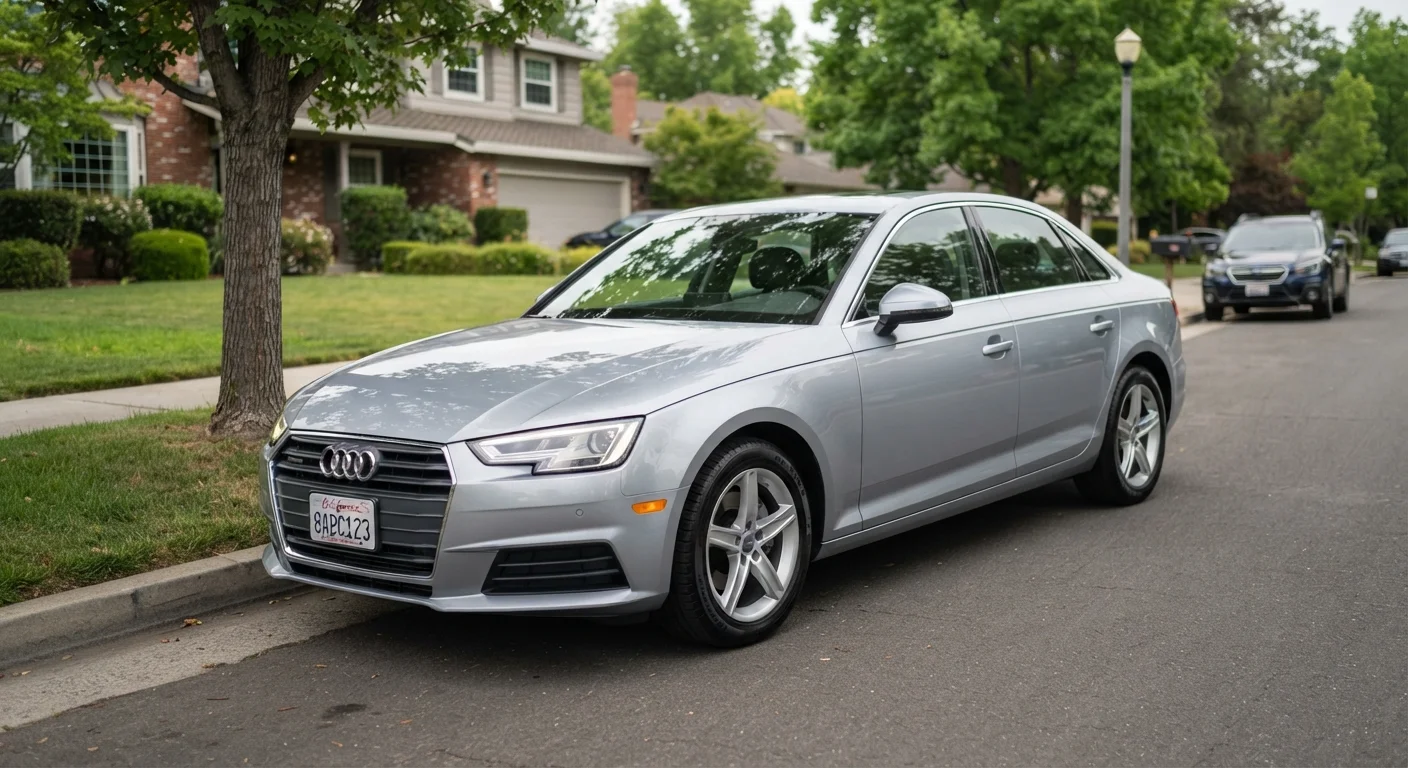
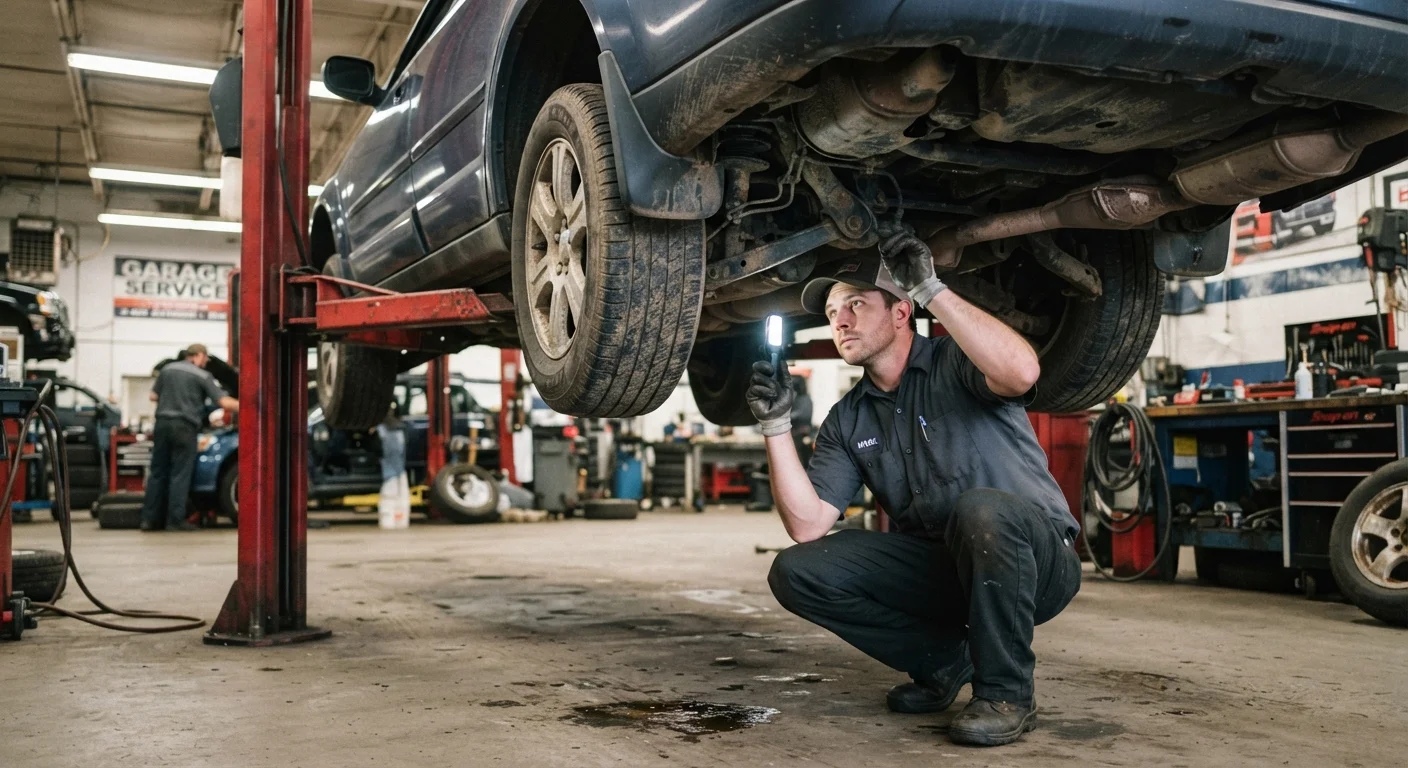
Why This Checklist Exists
Used SUVs carry unique inspection demands that a general vehicle check doesn't fully cover. Four-wheel-drive systems, elevated ride heights, heavier frames, and towing histories all create failure points you won't find on a sedan. This checklist is designed to give you a structured, systematic walkthrough - from the roof rails down to the skid plates - so you arrive informed rather than reactive.
For a broader baseline applicable to any used vehicle, see the pre-purchase inspection checklist for used vehicles which covers bodywork, fluids, electrics, and drivetrain at a high level. The checklist below goes deeper on SUV-specific systems.
Always Use an Independent Mechanic
No checklist, however thorough, substitutes for a professional pre-purchase inspection (PPI). A qualified mechanic can perform a lift inspection, compression test, and brake measurement with calibrated tools you likely won't have on hand. Budget for a PPI at an independent shop - it is one of the most cost-effective safeguards available to a used-vehicle buyer.
This checklist is an educational guide to help you ask the right questions and spot red flags. It does not replace an inspection by a licensed, independent mechanic. Before finalizing any purchase, have the vehicle inspected by a qualified professional at a shop of your choosing - not one recommended by the seller.
What to Bring and Set Up Before You Arrive
Preparation separates a productive inspection from a wasted trip. Gather your tools and information before setting foot on the lot or driveway.
Flashlight or headlamp
Illuminate wheel wells, undercarriage, and engine bay corners where rust and leaks hide.
Mechanic's mirror (telescoping)
View frame rails, exhaust hangers, and hard-to-reach underbody areas without crawling fully under the vehicle.
OBD-II scanner
Read stored and pending fault codes from the vehicle's onboard diagnostics port.
Tire tread depth gauge
Measure remaining tread across all four tires and the full-size spare if equipped.
Magnet (small rare-earth type)
Detect body filler (Bondo) used to conceal rust or collision damage under painted surfaces.
Vehicle history report (VIN-based)
Review accident history, title status, odometer records, and ownership count before the in-person visit.
Nitrile gloves
Check fluid condition on dipsticks and around seals without contaminating samples.
Notebook or inspection app
Record findings by category so you can compare multiple vehicles objectively.
Request the vehicle's VIN in advance and pull a vehicle history report before you arrive. Cross-reference reported accident events against what you observe on the paint and panels - discrepancies are significant. Ask the seller to leave the vehicle cold overnight before your visit so you can observe a true cold start.
Don't Inspect a Warm Engine
A seller who delivers a vehicle with the engine already warm may be masking a cold-start issue such as hard starting, excessive smoke, or rough idle on a cold engine. If the vehicle is warm when you arrive, ask to reschedule or factor this into your assessment. A genuine cold start is one of the most revealing moments of any used-vehicle inspection.
The Full Inspection Checklist
Work through each group methodically. Take photos as you go - they become useful reference points when comparing multiple vehicles or discussing findings with a mechanic.
Exterior & Body Structure
Undercarriage & Frame
4WD & Drivetrain Systems
Engine & Transmission
Suspension, Brakes & Tires
Interior & Electronics
If the SUV passed a towing hitch or received aftermarket lift modifications, also consult the pre-upgrade vehicle condition checklist to understand how modifications may have affected structural integrity. For comparison, the approach used when inspecting a classic car before you commit shares useful structural assessment logic that translates to body-on-frame SUVs.