Why a Structured Inspection Matters
Buying a used vehicle without a systematic inspection is one of the most reliable ways to inherit someone else's mechanical problems. Sellers aren't always forthcoming about a vehicle's history, and photographs rarely capture rust, fluid weeping, or worn drivetrain components. A structured walkaround gives you a repeatable framework - the same framework a trained technician uses - so nothing gets overlooked in the excitement of a promising find.
This checklist covers five core areas: exterior and bodywork, underhood fluids and components, the interior and electrical systems, tyres and brakes, and the drivetrain. Work through each group in order. Bring a flashlight, a small magnet (to detect body filler on steel panels), and a notepad. If a vehicle passes your preliminary review, the final step should always be a pre-purchase inspection (PPI) by an independent, qualified mechanic - not the seller's preferred shop.
If you're also evaluating a classic or collector vehicle, the structural and mechanical considerations differ meaningfully. See our classic vehicle inspection guide for that specific context.
Never Skip the Independent Mechanic Inspection
A DIY walkaround is a valuable first filter, but it cannot replace a professional pre-purchase inspection. A qualified mechanic can lift the vehicle on a hoist, check for hidden frame damage, test compression, and evaluate components you cannot safely access. Budget for this step - it typically costs far less than a single major repair you might inherit without it.
What to Bring and How to Prepare
Preparation before you arrive determines how efficiently you can work through the checklist. Schedule your visit during daylight hours - artificial lighting conceals paint overspray, rust blooms, and fluid stains. Avoid inspecting a vehicle in the rain, which can mask leaks and make surfaces harder to read accurately.
LED Flashlight
Illuminate the undercarriage, engine bay, and wheel wells where ambient light does not reach.
Small Ferromagnetic Magnet
Detect body filler repairs on steel panels, which the magnet will not adhere to.
Tread Depth Gauge
Measure tyre tread depth accurately at multiple points across each tyre.
Vehicle History Report Service (e.g., CARFAX or AutoCheck)
Pull reported accident records, title status, and odometer readings before your visit.
OBD-II Scanner
Read stored and pending diagnostic trouble codes from the vehicle's onboard computer.
Notepad or Inspection App
Record flagged items, observations, and questions to discuss with the seller or mechanic.
Before meeting the seller, pull a vehicle history report using the VIN from the listing. This surfaces reported accidents, title issues (salvage, flood, lemon law buyback), and odometer discrepancies. Cross-reference the VIN on the report against the VIN plate on the dashboard and the sticker inside the driver's door jamb - all three should match exactly.
Once planned modifications or upgrades are on your radar, note that mechanically unsound vehicles are poor candidates for performance work. Our pre-upgrade condition checklist explains why baseline mechanical health matters before any spending on enhancements.
The Full Inspection Checklist
Work through the checklist groups below in sequence. Mark items as passed, flagged, or failed as you go. Any single failed item in a critical area warrants either a price negotiation or walking away entirely.
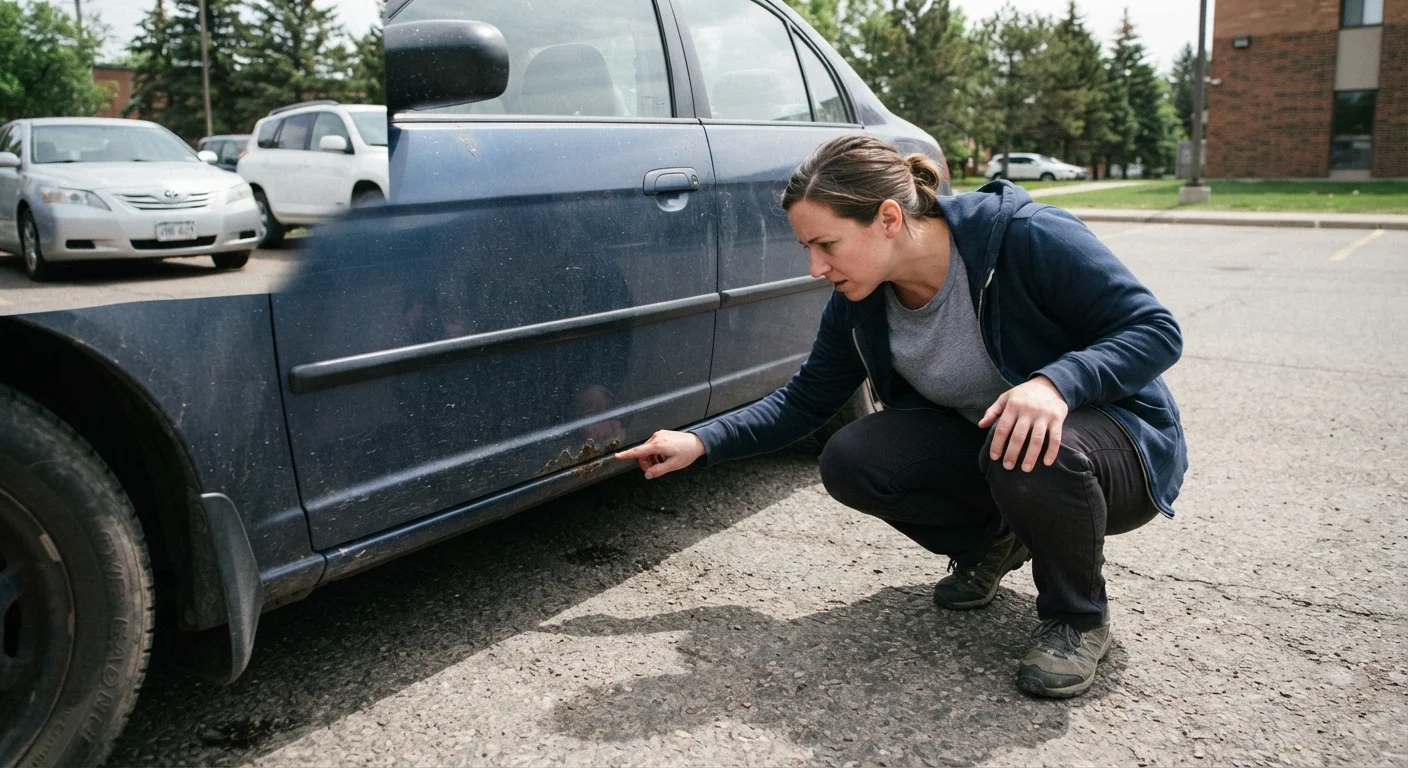
Exterior & Bodywork
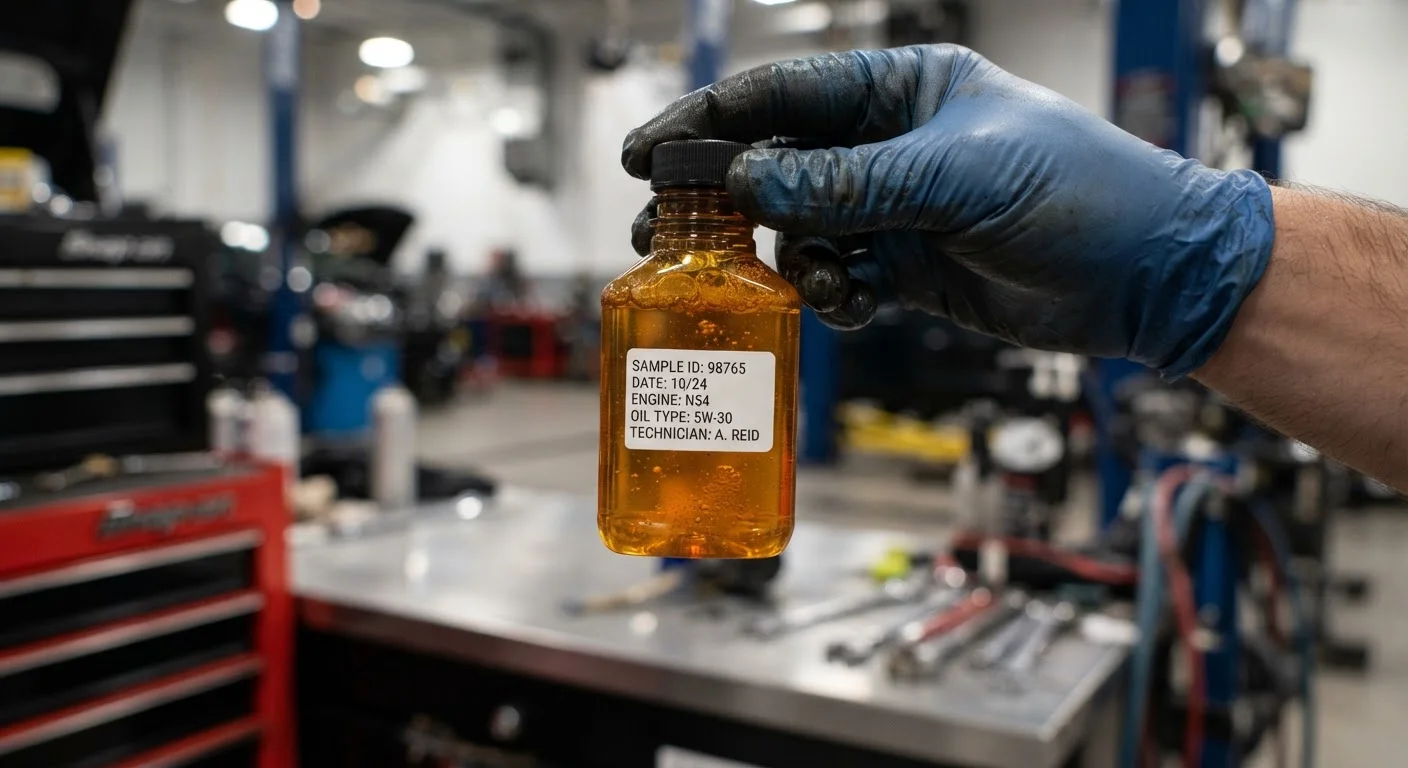
Underhood - Fluids & Components
Interior & Electrical Systems
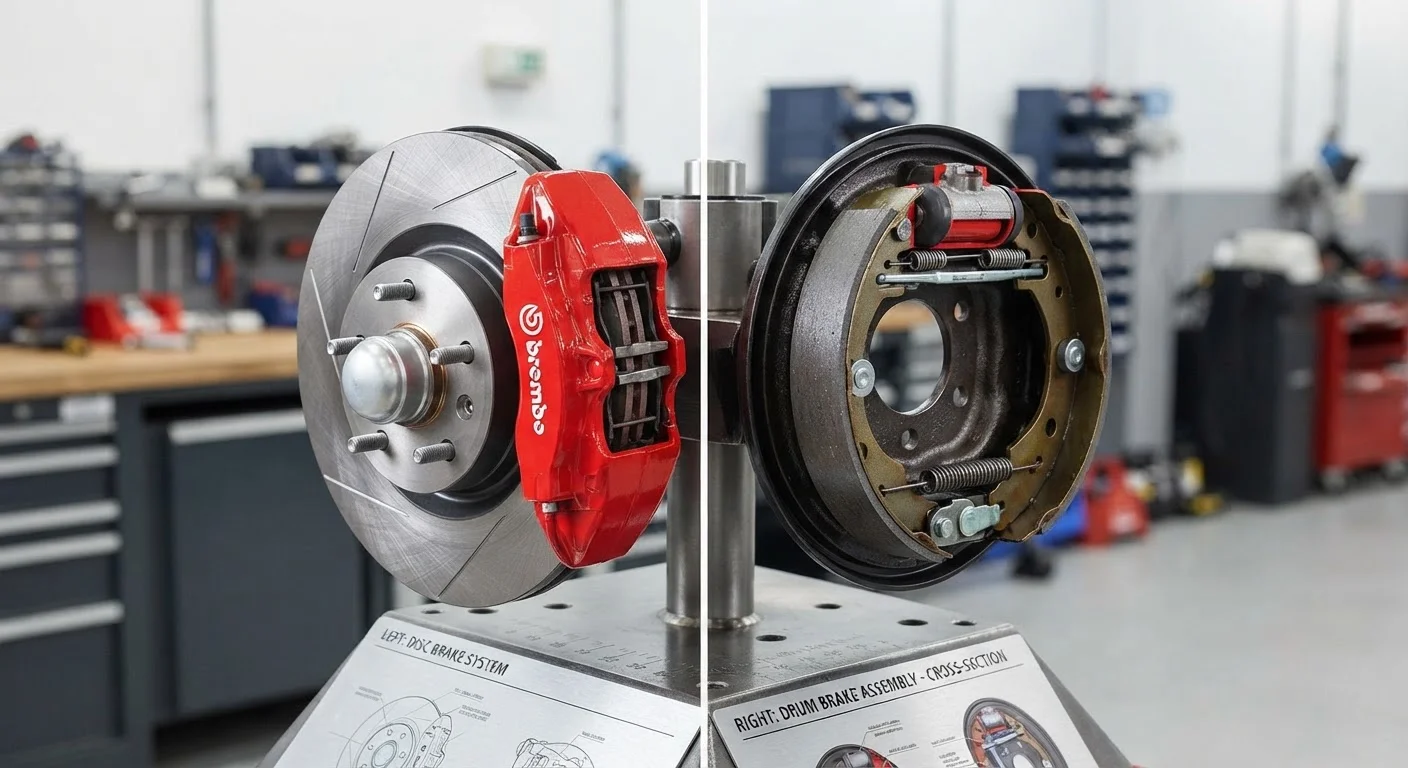
Tyres & Brakes
OBD-II Codes Can Be Cleared Before a Sale
A clean check-engine light doesn't guarantee a problem-free vehicle. Sellers can clear stored diagnostic trouble codes (DTCs) shortly before showing a vehicle. If possible, connect an OBD-II scanner and check the 'readiness monitors' - if most monitors show 'not ready,' the vehicle was likely recently driven only a short distance after a reset, and codes may return. This is a significant red flag.
After completing your own walkthrough, take the vehicle for a test drive that includes highway speeds, hard braking from moderate speed, and sharp low-speed turns. Listen for clunks, vibrations, or pulling under braking - these point to suspension or brake issues that are difficult to detect at rest. For pre-visit preparation specific to sedans, our sedan test-drive checklist offers a complementary framework.