Why Classic Car Inspections Demand a Different Approach
Buying a classic car is fundamentally different from acquiring a modern used vehicle. Decades of aging, variable storage conditions, amateur repairs, and the temptation to conceal flaws with fresh paint or chrome polish mean that surface impressions can be deeply misleading. If you're new to the hobby, our introduction to the classic car world covers the cultural and terminological groundwork worth understanding before you begin shopping in earnest.
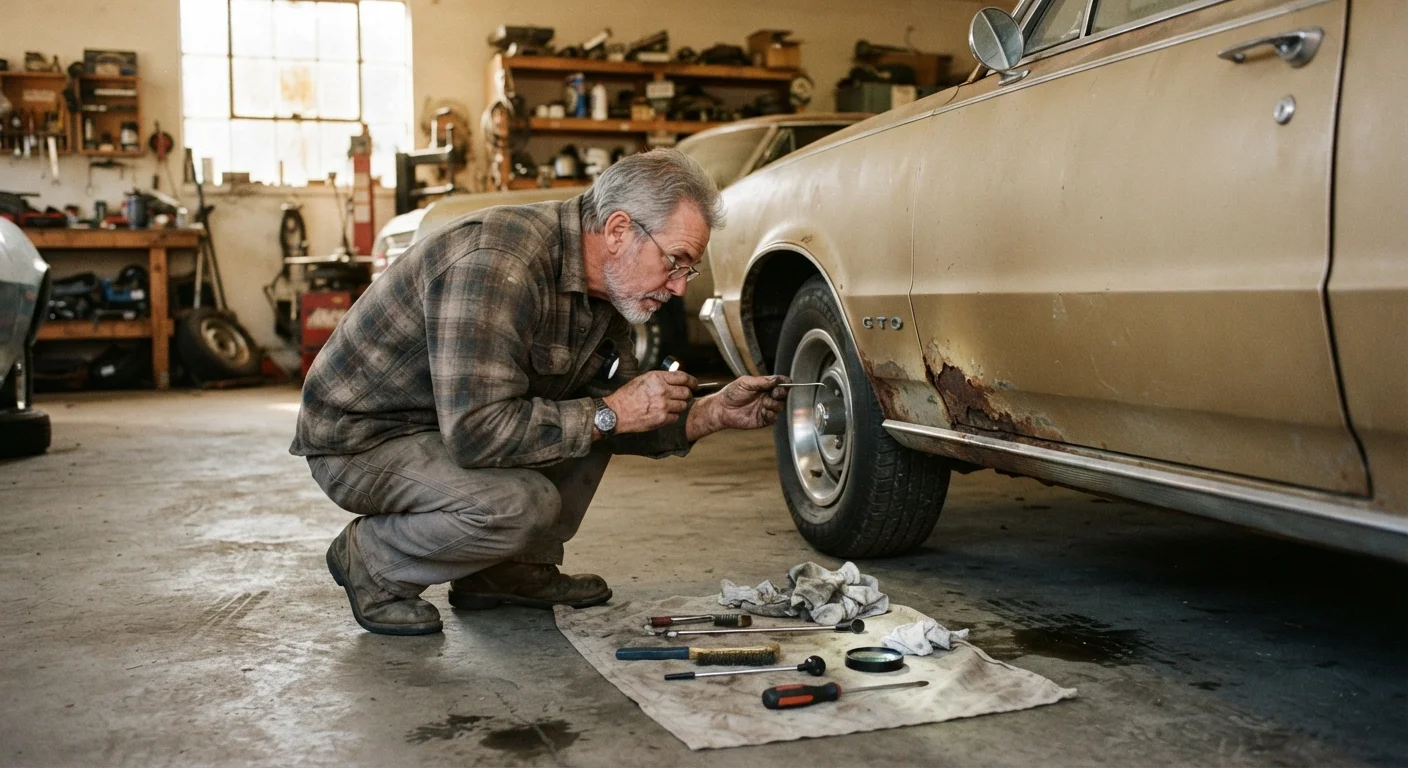
The checklist below is organized into logical inspection phases. Work through them in order - exterior first, then underneath, then mechanicals, then documentation. Bring a flashlight, a quality magnet (to detect filler), and ideally a trusted second pair of experienced eyes. Where possible, conduct the inspection in daylight on a flat, dry surface.
Always Hire a Specialist Inspector
Even the most thorough personal inspection has limits. Before finalizing any purchase, engage a qualified mechanic or classic car specialist to perform an independent evaluation. The cost of a professional inspection is trivial compared to the expense of discovering a structural or mechanical problem post-sale. Our article on rookie errors details what happens when this step gets skipped.
Even the most thorough personal inspection has limits. Before finalizing any purchase, engage a qualified mechanic or classic car specialist to perform an independent evaluation. The cost of a professional inspection is trivial compared to the expense of discovering a structural or mechanical problem post-sale. Our article on common first-time buyer mistakes details what happens when this step gets skipped.
Tools and Resources to Bring
Arriving prepared signals seriousness and ensures you can complete a thorough evaluation. The tools below represent a practical kit for an on-site classic car inspection.
LED Flashlight or Inspection Light
Illuminates dark cavities under the chassis, inside the engine bay, and within the trunk for thorough rust and leak detection.
Strong Neodymium Magnet
Detects areas of thick body filler beneath paint - filler significantly reduces magnetic attraction compared to bare steel.
Pointed Awl or Pick
Probes suspected rust spots on body panels and structural sections to assess depth and severity of corrosion.
Mechanics Mirror
Allows inspection of hard-to-see areas such as frame rails, underside seams, and rear suspension points without needing a lift.
OBD Scanner (if applicable)
Useful for vehicles with any modernised electronics; note that pre-OBD classic cars will not have a diagnostic port.
Notepad and Camera
Documents findings systematically during the inspection so nothing is forgotten before the final purchase decision.
The Inspection Checklist
Work systematically through each group below. Mark items as you go - rushing any phase increases the risk of missing a critical flaw. For context on how these criteria overlap with concours-level evaluation standards, see our piece on what concours judges look for.
Exterior Body and Paint
Structural Integrity and Rust
Engine and Drivetrain
Interior and Electrics
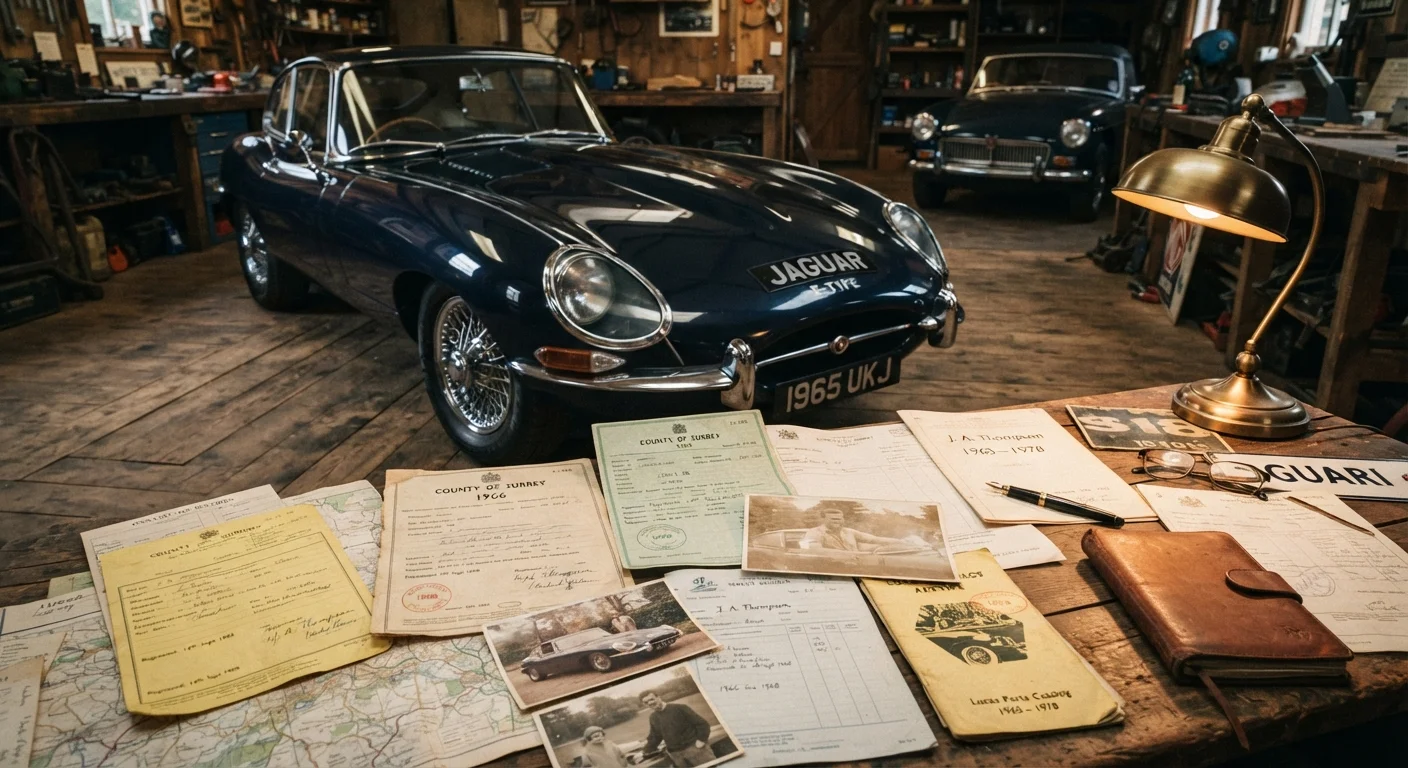
Documentation and Provenance
If you intend to modify the vehicle after purchase, note that performance upgrades on a mechanically unsound car can be both dangerous and wasteful. Our pre-upgrade condition checklist addresses exactly that scenario.
Never Inspect Under Pressure
Sellers who rush a viewing, discourage photography, or insist on a same-day decision are a significant red flag. A legitimate seller will allow adequate time and access for a thorough inspection. If you feel pressured, walk away - another example will come along.
Fresh Paint Can Hide Major Problems
A recent respray is not inherently suspicious, but it does complicate inspection. Fresh paint can conceal rust repairs, body filler, accident damage, and panel replacements. Always use your magnet and probe suspected areas regardless of how good the paint looks.
After the Inspection: Next Steps
Once you've worked through every group above, step back and assess the overall picture. A car with minor cosmetic issues and solid structure is often a far better prospect than a freshly repainted example concealing rot or a non-original drivetrain.
Cross-reference your findings with the vehicle's documentation. Title history, factory build sheets, and service records all help confirm that what you're seeing under the hood and on the body aligns with what the seller is claiming. For ongoing care once you do commit, our guide on off-season storage and maintenance outlines the practices that protect a classic between driving seasons.
If you're also evaluating other vehicle types during your search, the same disciplined approach applies across categories - our pre-purchase checklist for used vehicles provides a parallel framework for modern cars.
This article is for informational and educational purposes only. Always consult a qualified mechanic or marque specialist before making any vehicle purchase decision. Inspection findings should be interpreted in context; no checklist substitutes for professional evaluation.