The Grip Hierarchy: Why Tires Rule Everything
Every performance metric - acceleration, braking distance, cornering speed - originates at the four contact patches where rubber meets road. Each patch is roughly the size of a human hand. How well a vehicle exploits those contact patches is determined almost entirely by suspension setup, not engine output.
Add 100 horsepower to a car with poor geometry and you'll likely accelerate wheel spin and instability. Tune the suspension correctly and that same car becomes dramatically faster - without touching the engine. This is the core argument for treating suspension as the primary performance variable.
For a grounded walkthrough of how individual suspension components interact, see our Suspension Geometry 101 guide - it covers springs, dampers, and their relationship in accessible detail.
~10%
Typical lap time improvement from suspension tuning alone
Experienced track drivers and chassis engineers commonly cite suspension optimisation as capable of delivering approximately 10% lap time reductions without engine changes, depending on baseline setup quality.
4 patches
Tire contact patches governing all vehicle dynamics
All braking, cornering, and acceleration forces pass through just four contact patches - each roughly the size of a hand - making their management the central challenge of vehicle dynamics.
Geometry: The Hidden Architecture of Handling
Suspension geometry defines the angles and relationships between wheels, control arms, and the chassis. Three angles dominate the conversation: camber, caster, and toe.
- Camber is the inward or outward tilt of the wheel face. Negative camber (top of the wheel tilted inward) increases the tire's contact area during cornering, improving grip - but excessive negative camber accelerates inside-edge tire wear in straight-line driving.
- Caster is the angle of the steering axis when viewed from the side. Positive caster improves straight-line stability and steering feel but increases steering effort at low speeds.
- Toe is whether the fronts of the tires point inward (toe-in) or outward (toe-out). Small adjustments profoundly affect turn-in response and straight-line stability.
These settings interact continuously during suspension travel - which is why dynamic geometry (how angles change as the suspension compresses) matters as much as static alignment figures.
Alignment Settings Vary by Use Case
Factory alignment specifications are designed for everyday driving with varied load conditions and tire longevity in mind. Performance-oriented geometry - higher negative camber, for example - may accelerate tire wear under normal street conditions. Any significant geometry change should be evaluated against the vehicle's primary use. Consult a qualified alignment specialist familiar with performance applications before making adjustments.
Springs, Dampers, and the Balance That Defines Feel
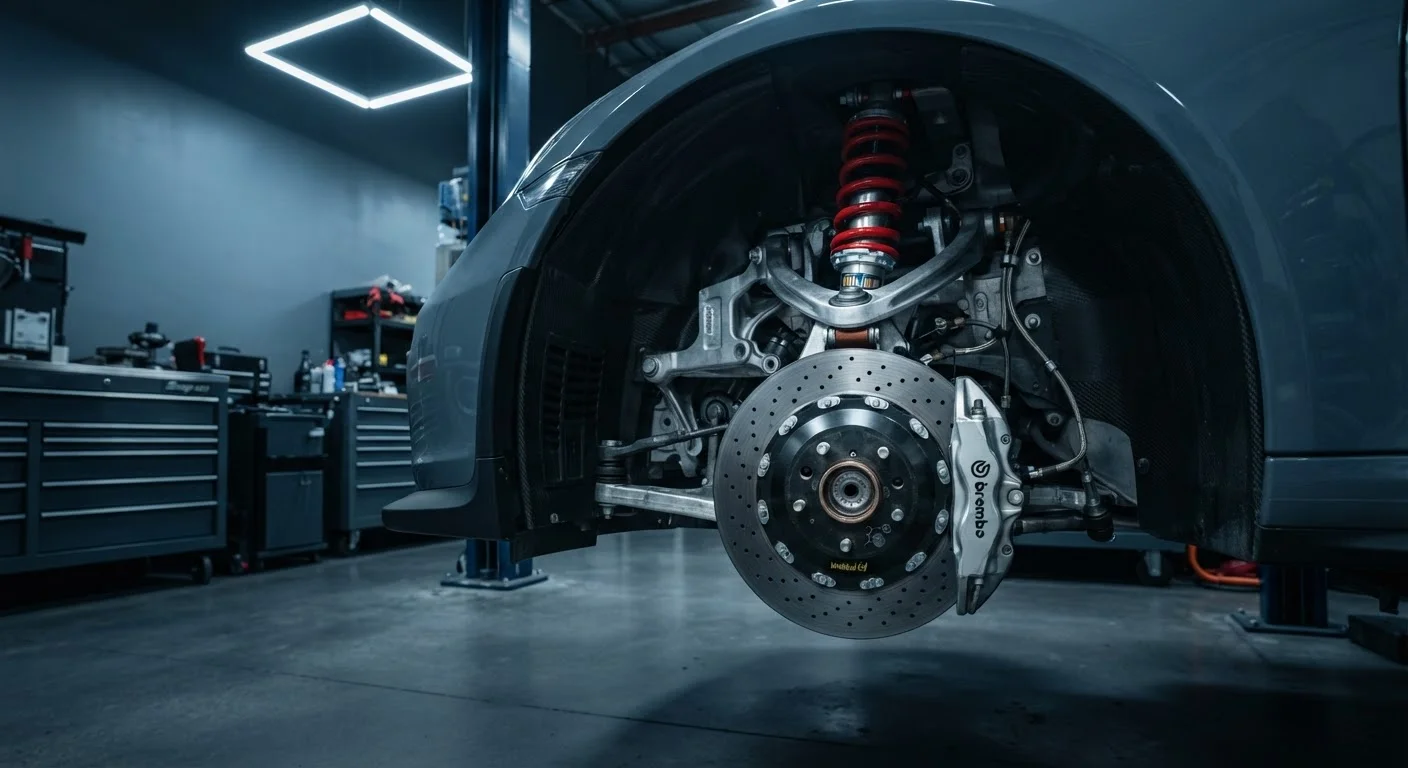
Spring rate determines how much the suspension compresses under a given load. Stiffer springs reduce body roll and sharpen transient response - but transfer more road harshness into the chassis and can cause tires to skip over bumps rather than follow them.
Dampers (shock absorbers) control the rate of that compression and rebound. An underdamped setup allows the suspension to oscillate after hitting a bump; an overdamped one prevents the suspension from moving fast enough to absorb road imperfections. The correct damping ratio is matched specifically to the spring rate - they cannot be tuned in isolation.
This balance is precisely what makes suspension setup complex. Suspension tuning for street and track requires understanding how coilovers, sway bars, and alignment settings interact across different driving environments.
Match Spring Rate and Damping Before Anything Else
Installing stiffer springs without revalving or upgrading dampers is one of the most common suspension mistakes. Dampers designed for stock spring rates will be unable to control the faster oscillation of stiffer springs, resulting in a harsh, unpredictable ride. Always treat springs and dampers as a matched system. Many reputable coilover kits are pre-matched - a useful starting point before pursuing custom valving.
Real-World Implications: When Setup Defines the Car
Production vehicles are tuned for broad usability - a compromise between comfort, stability, and compliance with varying load conditions. Performance variants of the same platform receive recalibrated spring rates, revalved dampers, and geometry adjusted for sharper response. The chassis is often identical; the suspension tune is what separates them.
At the track, even small geometry adjustments yield measurable lap time differences. Racers frequently adjust tire pressures, camber angles, and damper settings between sessions based on track temperature and tire wear patterns - iterative tuning that illustrates how nuanced this discipline is.
If you're considering modifications, understanding what each change targets is essential before committing. Our overview of handling modifications worth understanding covers anti-roll bars, strut braces, and the usability trade-offs each involves.