Why a Pre-Ride Routine Matters
Unlike a car, a motorcycle offers no protective cage - every mechanical failure carries a significantly higher consequence for the rider. A pre-ride inspection is not a formality; it's a disciplined habit that experienced riders treat as non-negotiable. The Motorcycle Safety Foundation and most advanced rider training programs center their safety curriculum around structured pre-ride checks precisely because so many preventable incidents stem from overlooked mechanical issues.
The framework most widely taught in the US is T-CLOCS - an acronym covering Tires & wheels, Controls, Lights & electrics, Oil & fluids, Chassis & chain, and Stands. This checklist expands on that structure with specific action items for each category. For riders who maintain their own machines, our routine maintenance guide covers deeper service intervals that complement these daily checks.
Don't Skip Checks on Short or Familiar Rides
A significant proportion of motorcycle incidents occur within a few miles of the rider's home - familiarity with a route does not reduce mechanical risk. A tire losing pressure, a brake fluid leak, or a chain about to snap does not care how short your intended journey is. Treat every ride, regardless of distance, as equally deserving of a full pre-ride inspection.
Tools and Equipment You'll Need
The good news is that the vast majority of pre-ride checks require no tools at all - just your eyes, hands, and a few minutes. A small number of verifications benefit from basic equipment you should already carry or keep in your garage.
Tire pressure gauge
Accurately measures tire PSI - do not rely on visual inspection alone to assess inflation.
Tread depth gauge
Provides a precise measurement of remaining tread depth beyond the wear indicator markers.
Chain lubricant and cleaning brush
Used to lubricate and clean the drive chain if it appears dry or has accumulated grit.
Torque wrench
Needed to re-tighten fasteners to manufacturer specifications if loose hardware is found during inspection.
Clean cloth or rag
Useful for wiping the sight glass clean before reading oil level and checking for fluid residue.
The Pre-Ride Checklist
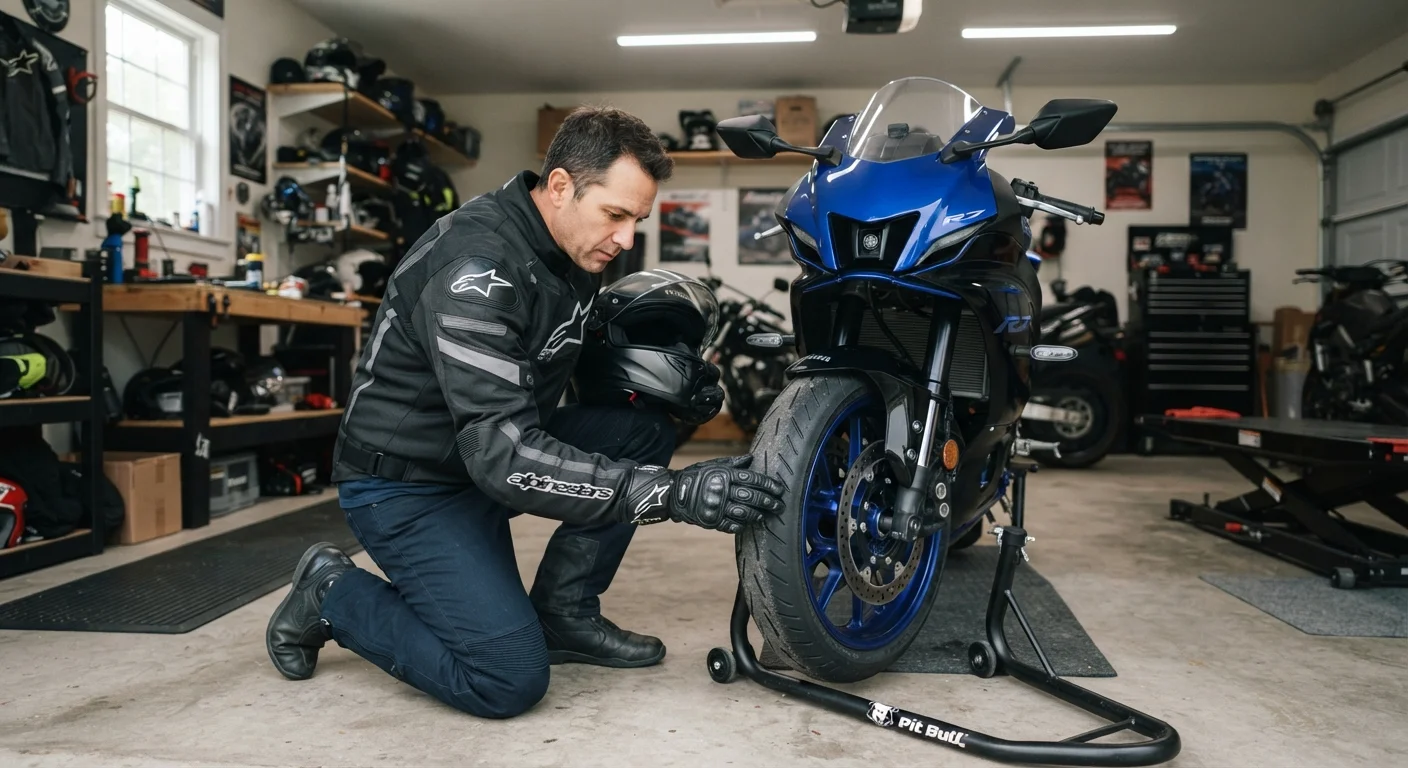
Work through the checklist below systematically. Starting at the front of the motorcycle and moving clockwise around the bike helps ensure nothing is skipped. If you identify any concern - abnormal tire wear, spongy brake feel, a fluid leak - resolve it before riding. Riding through a known defect is not a calculated risk; it's an unnecessary one.
Tires & Wheels
Controls
Lights & Electrics
Oil & Fluids
Chassis & Chain
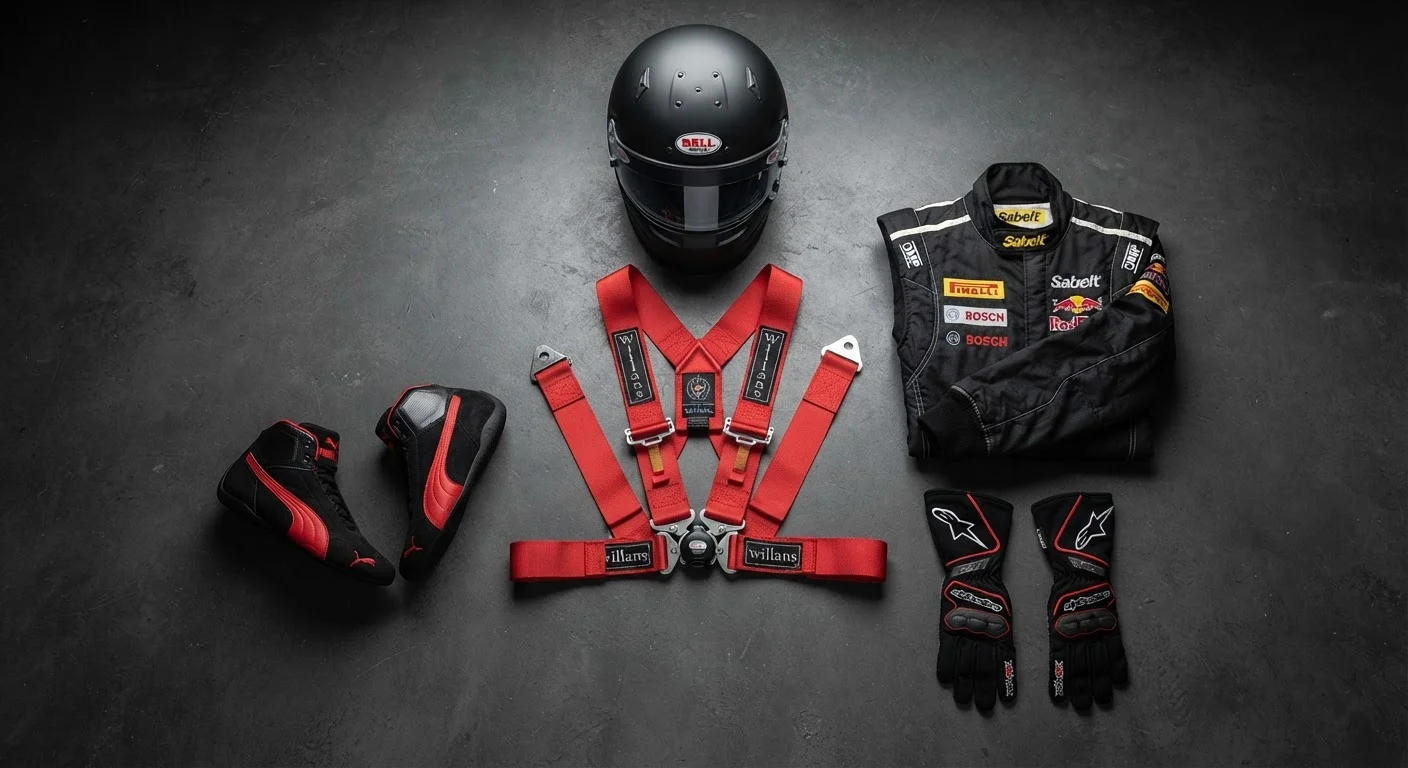
Stands & Personal Gear
Riders who perform checks on other vehicle types may find useful parallels in the bicycle pre-ride inspection routine or the boating pre-departure checklist, both of which share the same underlying philosophy of systematic verification before every outing.
When to Involve a Qualified Mechanic
A pre-ride check is designed to identify issues, not necessarily to fix them. Some findings - a hairline crack in a wheel rim, a brake pad worn to the metal, a fork seal leaking oil - require professional service before the motorcycle is safe to ride. Do not attempt to ride around a brake, tire, or structural concern.
If you're unsure whether a finding warrants immediate attention or can wait until a scheduled service, err on the side of caution. The guide to replacing vehicle parts yourself can help you assess which repairs are within a competent DIY mechanic's scope and which should go straight to a certified technician.
Brake Defects Are Non-Negotiable
If either brake feels spongy, pulls to one side, or the fluid level has dropped noticeably since your last check, do not ride. Brake failure is among the most dangerous mechanical failures a motorcyclist can experience. Have the system inspected and serviced by a qualified mechanic before operating the motorcycle again.
Riders interested in applying similar inspection discipline to a used purchase should also review the classic vehicle inspection checklist, which covers structural and mechanical evaluation principles applicable across vehicle types.
This article is for informational and educational purposes only. Always follow your motorcycle manufacturer's guidelines and consult a qualified mechanic for any safety-critical repairs.