Why Generic Floor Plan Advice Fails Specific Households
Most floor plan guidance treats all RV occupants as interchangeable - a couple on vacation, perhaps with room for guests. That framing doesn't account for the structural demands of a dog that needs daily outdoor access, a child who needs a sleep space separate from adults, or a professional who needs four to six hours of focused, ergonomic work time daily. These aren't edge cases. They're increasingly common configurations among full-time and extended-stay RV residents.
The challenge is that floor plan diagrams are marketing documents first. They depict furniture arrangements at their most favorable - slides extended, surfaces uncluttered, dimensions measured at the widest point. Reading them critically, with your actual household composition in mind, requires a different set of questions than a general buyer would ask. See the broader guide to RV interior layouts for context on how layout categories differ at the class level before narrowing to floor plan specifics.
Floor Plans on Paper Lie About Space
A 2D floor plan diagram compresses depth and eliminates the visual impact of overhead cabinets, slide-out mechanisms, and furniture profiles. Always walk through a physical unit before committing to any layout - a desk that looks spacious on paper may sit directly in front of a cabinet that can't open while someone is seated. If in-person visits aren't possible, search for interior walkthrough videos of the specific floor plan number, not just the model line.
What you will need
Step-by-Step: Evaluating a Floor Plan for Your Household Type
The steps below apply regardless of which RV class you're considering - from a Class B van conversion to a 40-foot Class A diesel pusher. The scale changes; the evaluation logic doesn't. Work through each step with the actual floor plan diagram in hand.
Manufacturer Floor Plan Diagram
Provides the labeled dimensions and zone positions needed to evaluate layout suitability before visiting a dealership.
Tape Measure
Confirms that key furniture and workspace surfaces meet ergonomic minimums - desk depth, bunk clearance, aisle width.
Painter's Tape
Used at home to mock up floor plan zones to scale, revealing real-world spatial constraints before purchase.
Walkthrough Video (Model-Specific)
Supplements static diagrams with a moving perspective that shows overhead clearance, cabinet swing radius, and traffic flow.
Define your non-negotiable daily routines before opening a floor plan
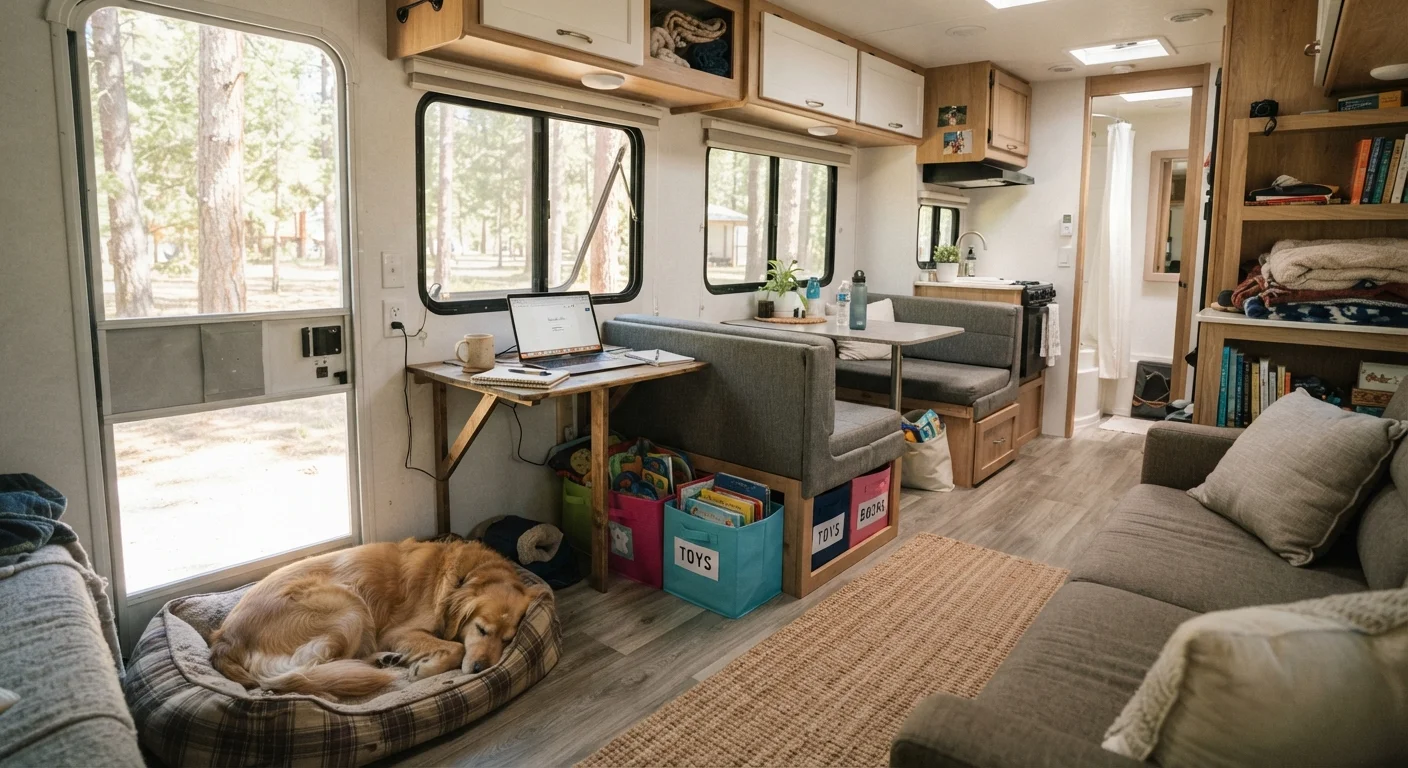
Before evaluating any layout, list the three to five activities that happen every single day in your household - not just on vacations. For a remote worker, that includes seated computer work for four or more hours. For a pet owner, it includes a dog entering and exiting the RV multiple times daily, often wet or muddy. For a family, it includes children doing homework, eating, and sleeping on a predictable schedule. These routines reveal your true spatial demands. A layout that fails to accommodate even one of them creates daily friction that compounds over weeks and months on the road.
Locate the entry and exit points on the diagram
The main entry door is a critical reference point for all three household types. For dog owners, every muddy paw enters through that door - assess how much flooring must be crossed before reaching a washable surface or a dedicated gear zone. Hard-surface flooring (vinyl plank or tile) near the entry dramatically reduces cleanup burden. For families, the entry location determines whether children tracking in dirt walk through the kitchen, the living area, or directly into a transition space. For remote workers, the entry's proximity to the workspace matters less, but the traffic flow from family members or pets entering mid-call is worth tracing mentally.
Evaluate dedicated zones for each household member's primary need
Each occupant type needs a zone that is theirs by function, not just improvised from shared furniture.
- Dog owners: Look for exterior pass-through storage or a large rear compartment that can house crates, food bins, and gear without consuming interior square footage. Some toy hauler configurations - see how toy hauler rear garages work - repurpose the garage as a pet area when motorcycles aren't carried.
- Families: Bunkhouse layouts concentrate sleeping capacity at the rear while preserving a functional adult living area forward. Confirm bunk dimensions: many bunks are sized for children under 12 but advertised ambiguously as "twin" bunks. Measure clearance height, not just mattress footprint.
- Remote workers: A true dedicated workspace requires a surface at least 24 inches deep, a seat with back support that isn't a dinette bench, and proximity to a 120V outlet. The connectivity and power realities of RV remote work article covers the electrical side; the floor plan evaluation is about whether that desk exists at all versus being improvised from a folding table.
Assess bathroom configuration against your household's schedule
Single-bathroom RVs create bottlenecks in multi-person households, particularly in the morning. Split-bath configurations - where a toilet and sink occupy one room and a shower occupies another - allow two people to use bathroom facilities simultaneously. For families, this is a significant quality-of-life upgrade. For solo remote workers or couples without children, a single wet bath may be entirely adequate. Pet owners should note whether the shower stall is large enough to bathe a medium or large dog - a full walk-in shower with a removable handheld attachment is far more practical than a compact corner unit.
Cross-check storage capacity against your actual gear list
Storage inadequacy is one of the most common regrets among new RV owners. The full storage evaluation guide walks through pass-through bays and overhead compartments in depth, but for this purpose: write a physical list of everything each household type must carry that a vacationer would not. For pet owners, that includes food storage (typically 30-50 lbs minimum), a crate, leashes, medications, and waste supplies. For families, it includes children's clothing across seasons, activity supplies, and school materials. For remote workers, it includes equipment - monitors, hard drives, cameras, lighting - that requires protected, accessible storage rather than exterior bays. Match each category against the floor plan's labeled storage zones.
Evaluate the layout with slides retracted and confirm minimum livability
If your shortlisted floor plan includes one or more slide-outs, locate them on the diagram and identify what furniture moves outward with each slide. Then mentally retract them and assess whether the core aisle remains passable and whether your non-negotiable daily functions - working, sleeping, feeding a pet, managing children's routines - can still occur. This is particularly important for remote workers, whose workspace may sit in a slide that occupies the only usable desk surface. If the slide is retracted while parked on a tight site with neighbors close on both sides, that workspace disappears. The floor plan evaluation checklist provides additional criteria to apply at this stage.
Use Tape to Mock Up a Floor Plan at Home
Before buying, use painter's tape on your living room floor to outline the dimensions of the RV's interior zones - bedroom, bathroom, kitchen, and living area. Walk through your actual daily routines within that footprint. This simple exercise surfaces bottlenecks that a diagram never reveals, particularly for families or anyone working from home who needs consistent, predictable space.
Slide-Outs Reduce Travel-Mode Livability
When a slide-out is retracted for driving, the furniture inside it - often the sofa, dinette, or bed - pushes into the main aisle. On travel days that stretch into the evening, this can make a normally comfortable layout feel cramped and frustrating. If you anticipate frequent travel days or boondocking on tight sites, evaluate each floor plan with the slides mentally retracted and assess whether it remains functional.
Once you've completed this evaluation, compare how the kitchen layout supports your household's cooking patterns. A galley kitchen that suits a solo traveler may create serious workflow conflicts for a family preparing three meals daily - see how galley, island, and L-shape kitchen configurations compare for specifics. For pet owners continuing their research, RV living with pets: routines, space, and safety addresses the on-road management side once the right floor plan is secured.