Why Brake Upgrades Are More Complex Than They Look
Stopping power is a system, not a single component. When enthusiasts decide to upgrade brakes for performance driving, the instinct is often to go bigger - larger rotors, more piston calipers. That logic is understandable, but treating brake upgrades as isolated hardware swaps routinely creates problems that are harder to diagnose than the original limitation. See our overview of performance modifications for context on how brake work fits alongside other drivetrain changes.
A factory brake system is engineered as an integrated unit: rotor size, pad compound, caliper piston area, hydraulic line diameter, fluid specification, and the ABS calibration all interact. Changing one variable shifts the balance of the others. Understanding those interactions before modifying is what separates an effective upgrade from one that compromises safety or delivers no measurable gain on the road or track.
Street and Track Requirements Differ Fundamentally
Components optimized for race track use - including certain pad compounds, braided lines, and fluid specifications - may behave differently in cold, wet street conditions. Some racing brake fluids are highly hygroscopic and require more frequent changes than street-grade fluids. Always confirm that any modification is compatible with your primary driving environment and meets applicable roadworthiness standards in your state.
Brake Bias: The Variable Most Upgrades Disturb
Brake bias describes how braking force is distributed between the front and rear axles. Most passenger vehicles are front-biased - typically in the range of 65-75% front - because weight transfers forward under deceleration, increasing front tire load and grip. This balance is engineered precisely by the manufacturer using proportioning valves or, on modern vehicles, electronic brake force distribution (EBD).
Upgrading front calipers or rotors without addressing the rear changes this ratio. An overly front-biased system risks rear-wheel lift or spin under hard braking; a system that's too rear-biased can cause the rear axle to lock first, inducing a spin. On vehicles with ABS systems, the electronic calibration may partially compensate, but ABS is not a substitute for correct mechanical bias. Any significant caliper upgrade should include a bias check and, where applicable, an adjustable proportioning valve or brake bias bar for track use.
~70%
Typical front brake force share under hard deceleration
Weight transfer under braking shifts load to the front axle, which is why most OEM systems are substantially front-biased in their hydraulic calibration.
400-700°C
Operating temperature range for dedicated track pad compounds
Many performance pad manufacturers publish friction coefficient curves showing peak performance only at elevated temperatures well above typical street driving conditions.
Pad Compounds and Rotor Design: Matching Them to Use
Performance pad compounds are categorized loosely by their intended operating temperature range. Street pads work well cold, bite immediately, and produce minimal dust - but they can fade rapidly above around 400°C (750°F). Track compounds operate optimally at high temperatures, often requiring several aggressive stops to reach working temperature, which means they can feel wooden or slow to respond when cold on a public road.
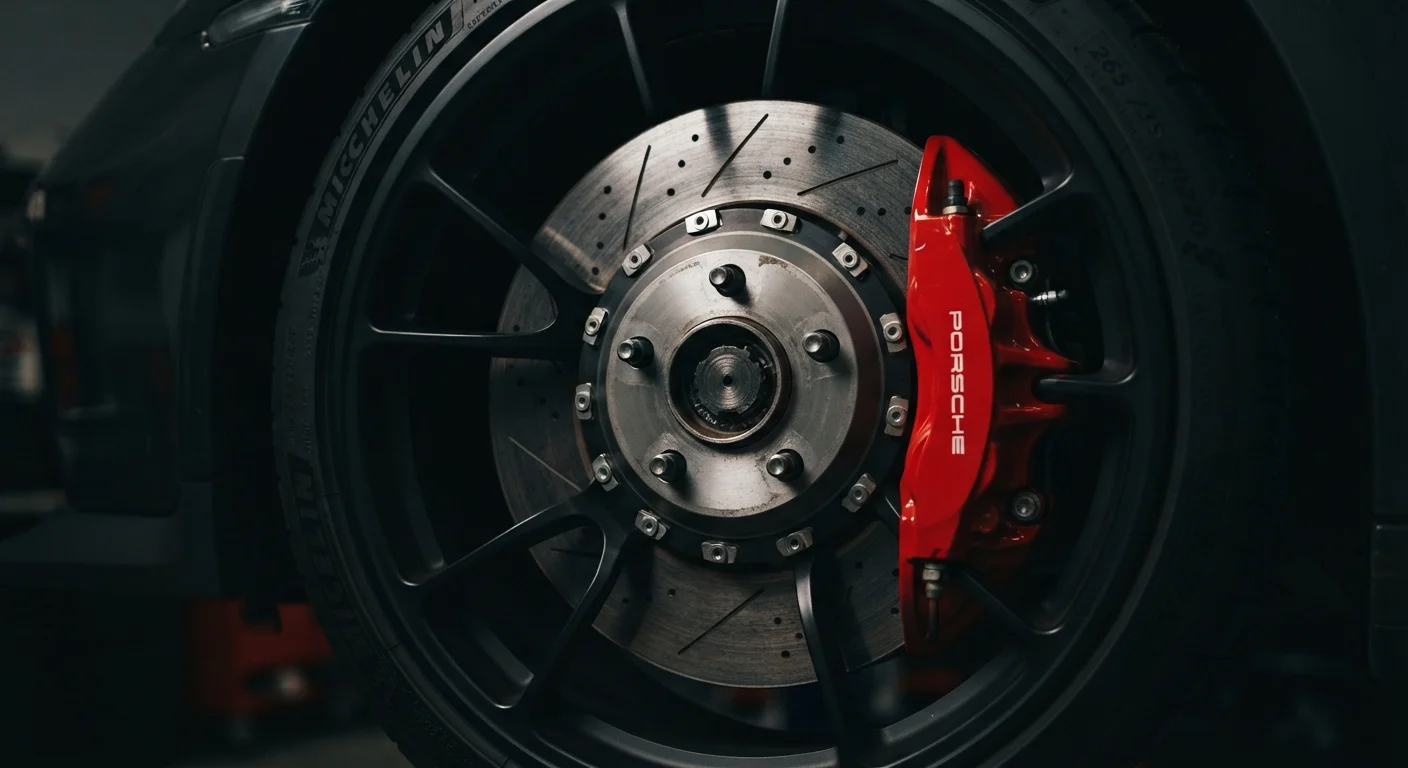
Rotor design matters equally. Slotted rotors help evacuate gases and debris from the pad surface, maintaining consistent friction. Cross-drilled rotors offer additional thermal venting but introduce stress concentrations that can crack under repeated thermal cycling on the track. Two-piece "floating" rotors - where the hat and ring are separate - reduce unsprung weight and allow thermal expansion without warping, making them a considered choice for dedicated track cars. For road-legal vehicles used occasionally on track, a quality slotted or plain rotor with a high-quality street/track hybrid pad compound is generally a more practical configuration than full race components. Complement any rotor upgrade with a review of brake fluid specification, since rotor and pad upgrades that increase thermal load will also heat the fluid more aggressively.
Evaluate your actual use case before specifying any brake hardware
A daily driver that sees two track days per year has fundamentally different requirements than a dedicated circuit car. Over-specifying for track use on a street car degrades cold-weather braking feel and increases noise and dust - real-world penalties for gains that only appear above temperatures the car rarely reaches.
Upgrade brake fluid before or alongside any hardware modification
Fluid with a low dry or wet boiling point becomes the system's weakest link under hard use. Vapor bubbles in the hydraulic line cause pedal fade - a loss of pedal pressure - that no caliper or rotor upgrade can prevent. High-temperature fluid is the lowest-cost, highest-impact brake upgrade available.
Verify brake bias after any caliper or rotor size change
Changing the mechanical advantage at one axle shifts the force distribution between front and rear. Without recalibration, the result can be premature rear lockup under emergency braking - one of the fastest ways to lose vehicle control. Modern EBD systems adapt to some degree, but they cannot fully compensate for large mechanical changes.
Confirm physical fitment with your specific wheels before purchasing
Performance calipers are physically larger, and even a few millimeters of clearance shortfall means the wheel will not mount. This is a common and expensive oversight that forces either a wheel upgrade or a return of the brake hardware.
Bed in new pads and rotors properly before relying on full stopping power
New friction material must be heat-cycled through a controlled bedding process to transfer an even layer of pad material onto the rotor face. Skipping this step results in uneven deposits, vibration, and inconsistent stopping performance from the start.
System-Wide Considerations Before You Commit
Before specifying any brake hardware, consider the full picture. Weight changes, for instance, directly affect braking requirements - reducing vehicle weight improves braking distance at the same deceleration rate, while adding weight (a roof tent, a full fuel load, passengers) extends it. Tire selection is also foundational: the brake system can only use the grip the tires provide, so tire compound and construction should be evaluated alongside any brake work.
Wheel clearance is a practical constraint that is frequently underestimated. A larger caliper or rotor may not physically fit behind an existing wheel, and upgrading to accommodate it adds cost and potentially changes handling geometry. Always verify fitment with specific wheel offset and spoke clearance data before purchasing hardware. Finally, consider the legal and inspection context: some brake modifications may affect roadworthiness certification in certain US states, particularly if they alter the hydraulic circuit or remove OEM safety equipment. Consulting a qualified mechanic or alignment shop that specializes in performance work is strongly recommended before committing to a full system change. For broader context on the handling consequences of these choices, see handling modification trade-offs.