What OBD-II Is and How It Works
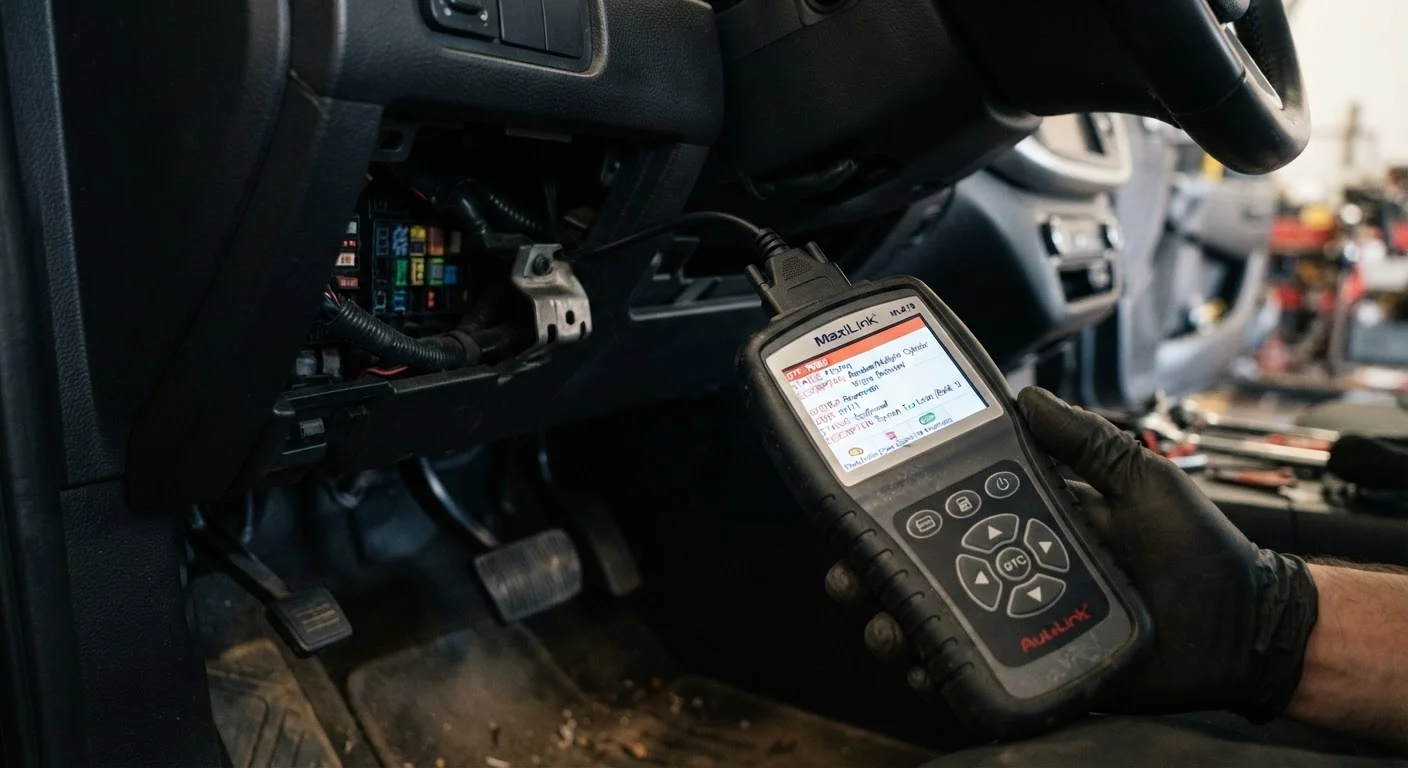
On-Board Diagnostics, second generation - commonly abbreviated OBD-II - is a federally mandated vehicle self-monitoring system. Since the 1996 model year, every gasoline-powered passenger car and light truck sold in the United States has been required to include a standardized 16-pin diagnostic link connector (DLC), typically located beneath the driver-side dashboard.
The vehicle's powertrain control module (PCM) - and, on modern vehicles, several other control modules - continuously monitor dozens of engine, emissions, and transmission parameters. When a sensor reading falls outside its acceptable range on two or more consecutive drive cycles, the system stores a diagnostic trouble code (DTC) and may illuminate the malfunction indicator lamp (MIL), commonly called the check engine light. For a deeper look at what that light is communicating, see what your check engine light is actually telling you.
The OBD-II standard defines a common communication protocol and a shared set of generic codes. It also permits manufacturers to define additional enhanced or manufacturer-specific codes that go beyond the baseline standard. Understanding this distinction is essential before you connect a scanner.
Generic vs. Enhanced Scanners
Entry-level OBD-II scanners read generic codes across all makes - adequate for most common P0xxx powertrain faults. Enhanced or professional-grade scanners also access manufacturer-specific modules (transmission, ABS, SRS, body control) and can display live sensor data and freeze frame records. If your scanner returns no codes but symptoms persist, the fault may reside in a non-powertrain module that a basic tool cannot reach.
Tools and Prerequisites
Before connecting a scanner, gather what you need and confirm your vehicle is compatible.
What you will need
OBD-II Scan Tool (handheld)
Plugs directly into the DLC and displays stored, pending, and permanent fault codes on a built-in screen.
Bluetooth or Wi-Fi OBD-II Adapter with App
A lower-cost alternative that pairs with a smartphone or tablet to display codes and live data through a dedicated app.
Vehicle Service Manual or OEM Data Subscription
Provides manufacturer-specific code definitions, wiring diagrams, and diagnostic procedures beyond generic code descriptions.
Flashlight or Inspection Light
Helps locate the DLC in poorly lit under-dash areas and supports follow-up visual inspection of accessible components.
Step-by-Step: Reading and Interpreting Fault Codes
Follow the steps below in order. The process takes roughly 15-45 minutes depending on code volume and your familiarity with the scanner interface.
Locate the Diagnostic Link Connector
The DLC is a 16-pin trapezoidal port. On most vehicles it sits within arm's reach below the steering column, often clipped to the underside of the dash panel. Some vehicles - particularly trucks and vans - position it to the right of the steering column or behind a small access cover. Consult the owner's manual if you cannot find it by feel.
Connect the Scanner with the Ignition Off
With the engine off and the ignition in the Off position, align the scanner plug with the DLC and press it firmly until it clicks into place. Most OBD-II tools draw power directly from the connector; the tool's screen or indicator light will confirm it has power. For Bluetooth adapters, the LED on the adapter should illuminate.
Turn the Ignition to the 'On' Position (Engine Off)
Turn the key to the On (or Run) position without starting the engine. This powers the vehicle's control modules and allows the scanner to communicate with them. Some modern push-button start vehicles require you to press the start button once without depressing the brake to reach the equivalent key-on state - check your owner's manual.
Run a Stored Code Scan
Select Read Codes (or the equivalent menu item) on your scanner. The tool will query the vehicle's modules and return a list of stored codes (confirmed faults), pending codes (faults detected on one drive cycle but not yet confirmed), and in some cases permanent codes (faults that cannot be erased without completing a specific drive cycle). Record every code displayed before proceeding.
Look Up Each Code Using a Reliable Reference
Use your scanner's built-in code definitions as a starting point, then cross-reference against manufacturer service information or a reputable DTC database. Pay attention to whether each code is generic (second digit 0) or manufacturer-specific (second digit 1, 2, or 3). Manufacturer-specific codes may require an enhanced scanner or OEM data subscription to interpret accurately. Note the system affected, the specific circuit or component flagged, and any related codes that appear alongside the primary fault.
Decide Whether to Clear the Codes
Clearing codes erases them from the module's memory and extinguishes the MIL. Only clear codes after you have recorded all of them and confirmed the underlying condition has been repaired or will be professionally diagnosed. If you clear codes before a repair, you also reset the vehicle's readiness monitors - the self-tests that emissions inspection stations check. The vehicle must complete one or more full drive cycles to reset those monitors, which can delay a passing emissions test by days.
Once you have a list of stored codes, the next stage is research and verification - not part replacement. Common DIY diagnosis myths explain why assuming one code equals one failed part is one of the most frequent and costly mistakes owners make.
A Code Is Not a Parts List
A P0171 (system lean, Bank 1) code, for example, can stem from a faulty mass airflow sensor, a vacuum leak, a weak fuel pump, a dirty fuel injector, or a failing oxygen sensor - among other causes. Replacing parts based solely on the code description without further testing wastes money and may leave the actual fault unresolved. Always treat the code as a diagnostic direction, not a repair prescription.
Understanding Code Categories and What Comes Next
OBD-II codes follow a structured five-character format. The first character identifies the system: P (powertrain), B (body), C (chassis), or U (network/communication). The second digit distinguishes generic codes (0) from manufacturer-specific codes (1, 2, or 3). The remaining three digits narrow down the subsystem and fault type.
| Code prefix | System | Example |
|---|---|---|
| P0xxx | Generic powertrain | P0300 - random/multiple misfire detected |
| P0420 | Generic emissions | Catalyst system efficiency below threshold, Bank 1 |
| P1xxx | Manufacturer powertrain | Varies by make and model |
| C0xxx | Generic chassis | ABS or stability control related |
A stored code is a starting point, not a verdict. The DTC tells you which circuit or system is out of range; it does not confirm which component caused it. Wiring faults, vacuum leaks, software issues, or secondary failures can all trigger a code in a neighboring system. For deeper diagnostic work, understanding freeze frame data and live sensor readings is the logical next step - that data can reveal the exact conditions present when the fault was recorded.
When a fault code points to something you cannot confidently inspect or test yourself - such as internal transmission behavior, high-voltage hybrid system faults, or safety-critical systems like ABS or airbags - have the vehicle evaluated by a qualified mechanic. Vehicle self-diagnosis: what owners can realistically do themselves offers a clear-eyed look at where DIY diagnosis reaches its practical limits.
Not every drivability problem generates a fault code, either. Some failures are intermittent or mechanical in nature and leave no electronic trace. In those situations, a hands-on approach matters as much as a scanner - visual inspections vs. electronic scanning explains when each method is most effective.
Know When to Stop and Seek Professional Help
Fault codes involving safety-critical systems - airbags (SRS), anti-lock brakes (ABS), electronic stability control, or hybrid/EV high-voltage systems - should be diagnosed by a qualified technician with proper equipment. Attempting to clear or repair these codes without the correct training and tools can compromise vehicle safety and, in some cases, create legal liability. If you are uncertain about the severity of a code, err on the side of professional evaluation.