What Each Method Actually Does
Visual inspection and electronic scanning approach vehicle diagnosis from fundamentally different directions. Understanding what each one actually detects - and what it misses - is the foundation of accurate troubleshooting.
Visual inspection relies on direct sensory observation: looking, touching, listening, and sometimes smelling. A technician examines components for physical evidence of failure - a cracked hose, a weeping gasket, a frayed drive belt, corroded battery terminals, or uneven brake pad wear. None of these conditions require a computer to detect; they reveal themselves to an attentive eye and a flashlight.
Electronic scanning communicates with the vehicle's onboard diagnostic system (OBD-II on vehicles built from 1996 onward in the US). A scan tool - also called a code reader or diagnostic scanner - connects to the vehicle's 16-pin OBD-II port, typically found beneath the dashboard on the driver's side. It retrieves stored DTCs (Diagnostic Trouble Codes), reads live sensor values, and can display freeze frame data - a snapshot of operating conditions captured at the moment a fault was logged. For a deeper look at that data, see how to interpret freeze frame and live sensor readings.
| Criterion | Visual Inspection | Electronic Scanning |
|---|---|---|
| Tools required | Flashlight, basic hand tools | OBD-II scan tool or code reader |
| Detects physical damage | Yes - directly observable | No - only electrical consequences |
| Detects sensor/module faults | Indirectly, if wiring is visible | Yes - via stored DTCs |
| Works on pre-OBD-II vehicles | Yes - fully applicable | No - incompatible systems |
| Live data monitoring | Not applicable | Yes - real-time sensor values |
| Identifies root cause alone | Often, for mechanical faults | Rarely - points to a system, not a part |
| Best first step when | Fluid leak, noise, or visible damage | Warning light on, no obvious symptom |
Neither method is superior in isolation. Each has blind spots the other compensates for.
When Visual Inspection Has the Clear Advantage
Visual inspection is indispensable for any problem that exists in the physical world but generates no electronic signal. Consider these common scenarios:
- Fluid leaks: Engine oil, coolant, brake fluid, and transmission fluid leaks leave traces on components and the ground beneath the vehicle. No sensor monitors for a leaking valve cover gasket directly - the drop in oil pressure or coolant level may eventually trigger a warning, but the leak itself is visible long before that point.
- Mechanical wear: A worn serpentine belt, a cracked CV boot, or a collapsing brake hose are tactile and visual findings. A scan tool has no awareness of them unless a downstream electrical consequence - like an alternator charging fault - has already occurred.
- Wiring and connector damage: Rodent-chewed wiring, corroded connectors, and chafed harnesses cause intermittent electrical faults that can generate confusing or misleading DTCs. Seeing the physical damage is often faster than chasing the code.
- Pre-OBD-II and non-monitored systems: Classic and vintage vehicles have no electronic diagnostic interface. Suspension geometry, steering linkage condition, exhaust leaks, and body corrosion are always evaluated by eye. Our guide to inspecting a classic car before you commit covers this in detail.
A Clean Scan Report Is Not a Clean Bill of Health
A vehicle with no stored fault codes can still have significant mechanical problems. Worn suspension bushings, a failing water pump, a stretched timing chain, or early-stage brake wear produce no DTCs until a downstream sensor is affected - sometimes long after the component has failed. A scan tool confirms what the vehicle's computers have noticed; it does not inspect everything a technician's hands and eyes can reach.
Safety note: Always support the vehicle safely on jack stands before inspecting underneath. Never rely solely on a floor jack. Wear appropriate eye protection when working near fluids or undercar components.
When Electronic Scanning Moves Faster
Scan tools earn their place when a fault has been captured electronically and you need direction before pulling anything apart.
Modern vehicles manage dozens of systems through dedicated control modules - engine, transmission, ABS, airbag, HVAC, and more. When a sensor reading falls outside its expected range, the relevant module logs a DTC and (in many cases) illuminates a warning light. Without a scan tool, identifying which module set which code requires guesswork. With one, you have a system and a fault description within seconds.
Live data streaming is equally valuable. Watching an oxygen sensor's voltage oscillate in real time, or confirming that a mass airflow sensor reading is within specification at idle, lets you test a hypothesis without disassembly. This is particularly useful for diagnosing intermittent faults that are not present during a static inspection.
For owners new to code reading, OBD-II diagnostics: reading fault codes without a mechanic explains the connection process and how to interpret generic codes step by step.
16-pin
OBD-II diagnostic port standard
All passenger vehicles sold in the US since 1996 are required to include a standardized 16-pin OBD-II diagnostic port, per EPA and CARB regulations.
Dozens
Control modules in a modern vehicle
A typical modern vehicle may contain dozens of separate electronic control modules, each capable of logging its own fault codes independently.
One important caution: a DTC identifies a circuit or system that reported an out-of-range value - it does not directly identify a failed part. Replacing the component named in a code description without further investigation is one of the most common and costly diagnostic errors. See DIY diagnosis myths that lead owners astray for more on this pattern.
Using Both Methods Together
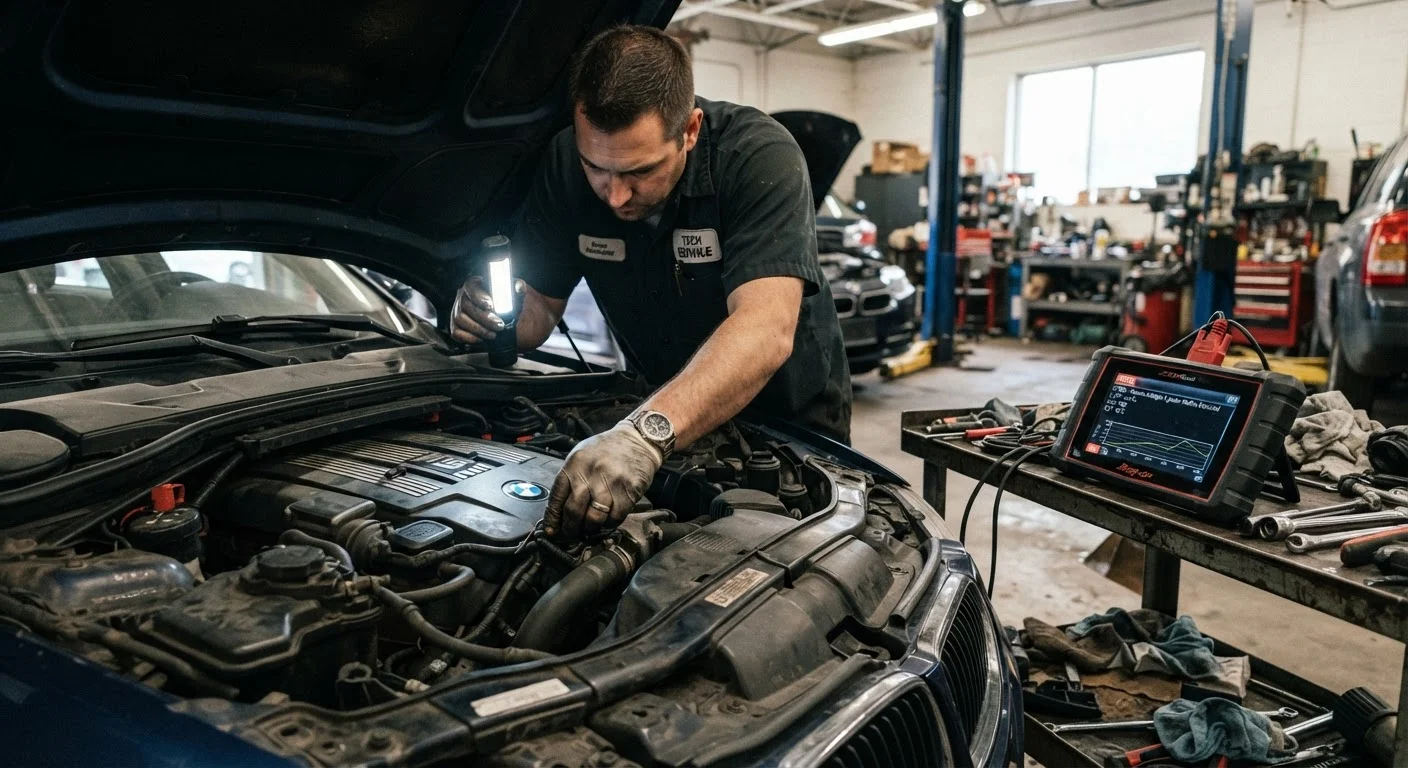
Experienced technicians rarely choose between these methods - they sequence them. A practical workflow looks like this:
- Start with a visual walk-around. Check for obvious fluid leaks, damage, or wear before connecting any tool. Physical evidence found early can make everything else faster.
- Connect the scan tool and retrieve all codes. Note which modules flagged faults and what the associated freeze frame data shows. This narrows the system scope.
- Return to physical inspection, guided by the code. If a coolant temperature sensor code is present, inspect the sensor connector, wiring, and the sensor itself before ordering a replacement. The code directed you; your eyes confirm the fault.
- Use live data to verify a repair. After addressing a fault, live data confirms the sensor is reading correctly and the code does not return under operating conditions.
For a realistic sense of which diagnostic tasks owners can handle independently and where professional equipment becomes necessary, vehicle self-diagnosis: what owners can realistically do themselves is a useful reference point.