
Why Maintenance Habits Matter From the Start
New drivers are often focused on road confidence, navigation, and passing tests - vehicle upkeep can feel like a concern for later. But the habits you build in your first months of ownership set the baseline for how well your vehicle performs and how long it lasts.
Neglecting maintenance doesn't cause instant failures. It causes gradual degradation: worn brake pads that reduce stopping distance, low oil that accelerates engine wear, underinflated tires that affect handling. By the time the problem is obvious, it has often become costly. Starting a service routine early means you're addressing issues at their cheapest and least disruptive stage.
This guide covers the core knowledge every new driver needs - not to turn you into a mechanic, but to help you become a more informed vehicle owner.
Service interval
A manufacturer-specified mileage or time period after which a specific maintenance task - such as an oil change or filter replacement - should be performed.
Dipstick
A long, thin rod inserted into the engine oil reservoir that you pull out to read the current oil level and assess its condition by color and texture.
Wear parts
Components designed to wear out gradually through normal use - such as brake pads, belts, and filters - and that require periodic replacement to keep the vehicle safe and functional.
Tread depth
The measurement of how much rubber remains on a tire's surface. As tread wears down, the tire loses its ability to channel water and maintain grip, especially in wet conditions.
Check engine light
A dashboard warning indicator that signals the vehicle's onboard diagnostics system has detected a fault. It can indicate anything from a loose gas cap to a serious engine issue and should always be investigated.
Coolant (antifreeze)
A liquid that circulates through the engine and radiator to regulate operating temperature, preventing both overheating in summer and freezing in winter.
The Checks You Can Do Yourself
Several routine inspections require no tools and no special training. Building these into a monthly habit gives you early warning of developing problems.
Fluids
Open the hood and locate the following reservoirs (your owner's manual shows exact positions):
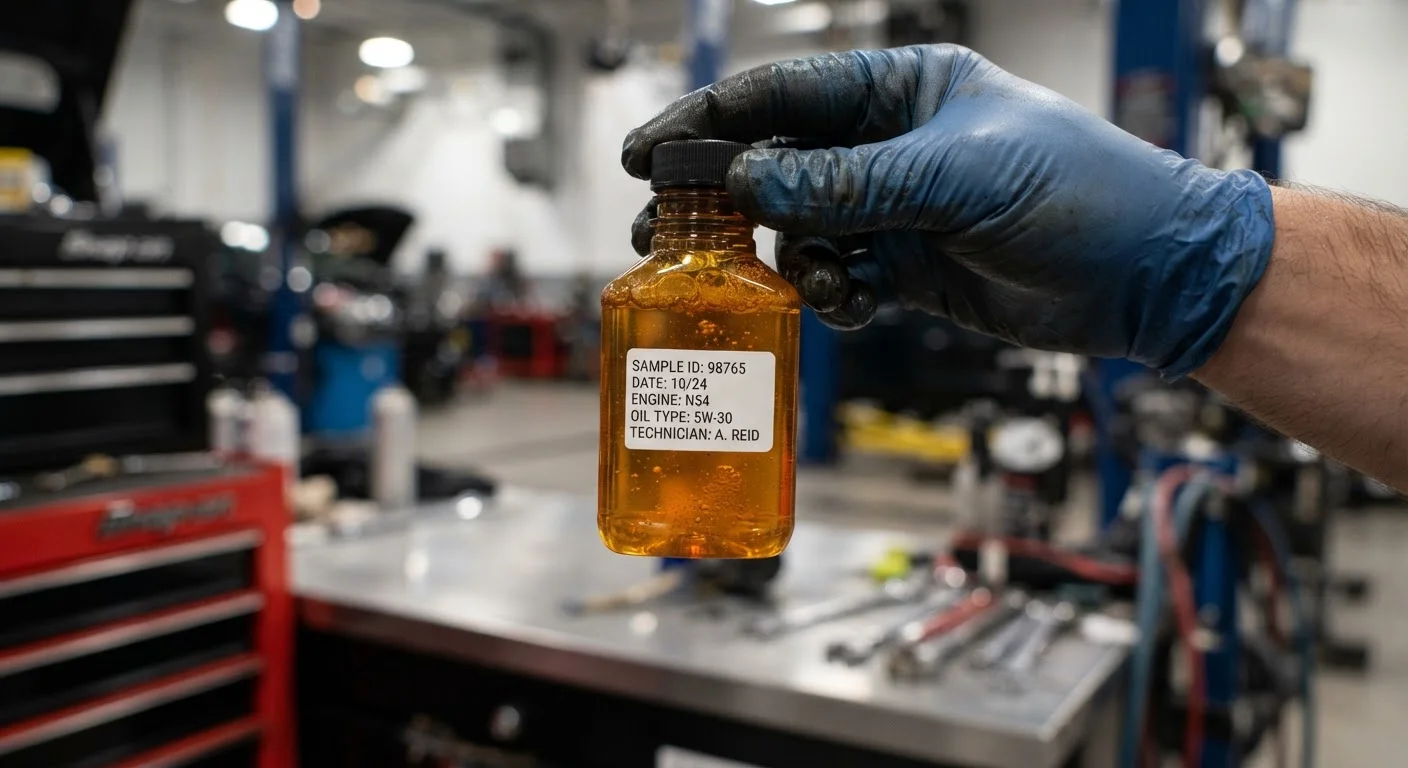
- Engine oil: Use the dipstick to check level and color. Dark, gritty oil is a sign it's due for a change.
- Coolant (antifreeze): Check the overflow reservoir - not the radiator cap on a hot engine. Level should sit between the MIN and MAX markers.
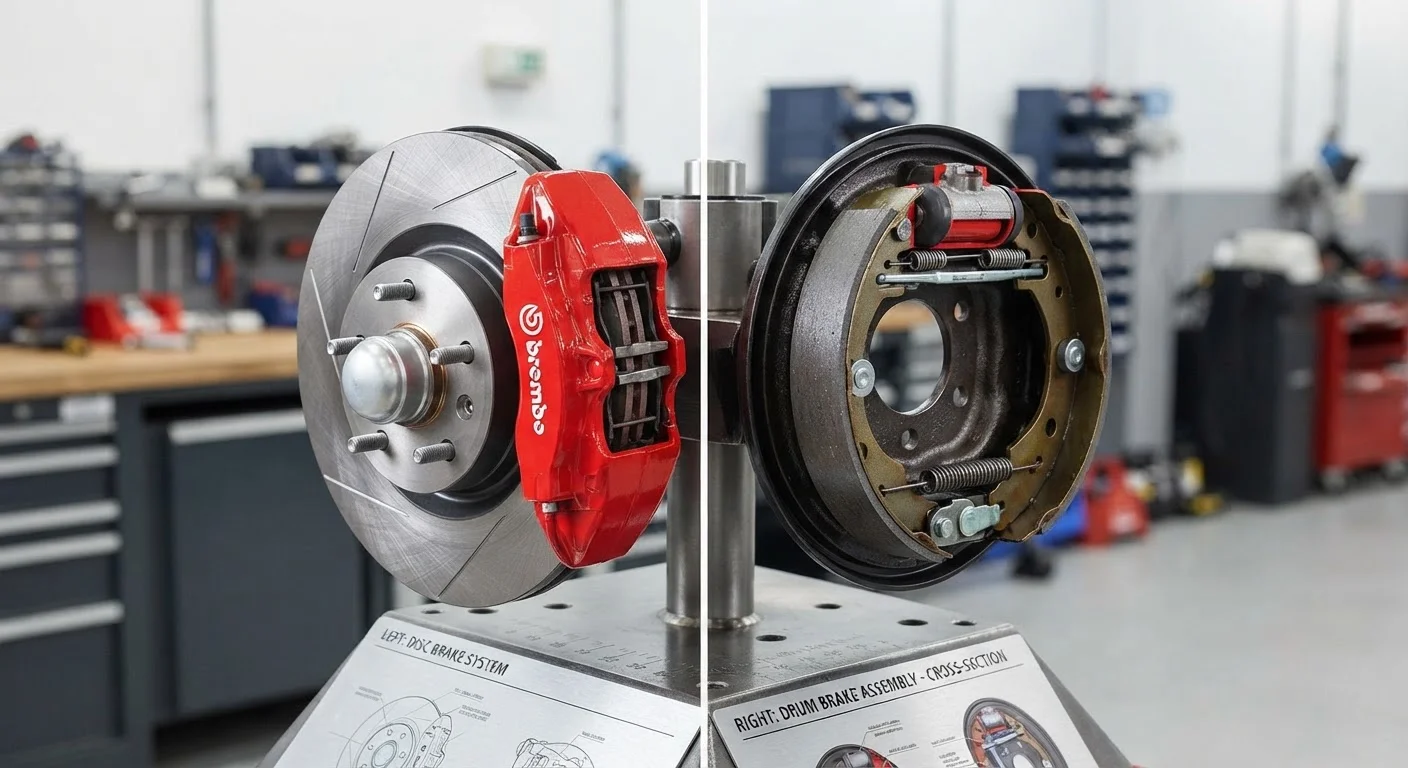
- Brake fluid: A translucent reservoir near the firewall. Low brake fluid may indicate worn brake pads or a leak - both warrant a mechanic's attention.
- Windshield washer fluid: Safe to top off yourself; use the correct mixed solution for your climate.
Tires
Tire pressure affects fuel efficiency, handling, and safety. Use a simple pressure gauge to check all four tires (and the spare) against the specification listed on the driver's door jamb - not the number stamped on the tire sidewall, which is a maximum, not a target. Check tread depth using the penny or quarter test, or look for the wear indicator bars built into the tire grooves.
Lights and Wipers
Walk around the vehicle once a month and confirm all lights - headlights, taillights, brake lights, turn signals - are functioning. Replace wiper blades when they streak or skip rather than waiting for a rainstorm to reveal the problem.
Build a Monthly Walk-Around Habit
Set a recurring monthly reminder to spend five minutes checking tire pressure, fluid levels, and all exterior lights. Doing this on the same day each month - such as the first Sunday - makes the habit automatic. Early detection of low fluid or a blown light is far less disruptive than discovering the problem on a long trip.
Understanding Your Maintenance Schedule
Your owner's manual contains a manufacturer-defined service schedule - a series of mileage or time-based intervals at which specific tasks should be performed. These intervals aren't arbitrary; they reflect engineering testing of how long components reliably last under normal operating conditions.
Common milestones include oil and filter changes, air filter replacement, spark plug replacement, coolant flush, transmission fluid service, and timing belt or chain inspection. The exact intervals vary by vehicle make, model, engine type, and whether you use conventional or synthetic oil.
Our guide to manufacturer maintenance schedules explains what each milestone means and why deviating from it carries real risk. It's also worth reviewing common maintenance myths - several outdated rules of thumb, like the universal 3,000-mile oil change, no longer apply to most modern vehicles.
For vehicles with significant mileage already on the clock - including classic or used cars - understanding wear parts is especially important. Our piece on maintaining wear parts for long-term reliability covers belts, pads, and filters in detail.
Never Open a Hot Radiator Cap
Coolant systems operate under pressure, and opening the radiator cap on a hot engine can cause scalding fluid to spray outward. Always let the engine cool completely - at least 30 minutes - before inspecting the radiator. Check the coolant overflow reservoir instead, which is designed to be checked safely without removing the cap.
When to See a Qualified Mechanic
DIY checks are valuable, but some situations call for professional diagnosis and repair. As a general rule: if you're uncertain, if the repair involves safety systems, or if the vehicle throws a warning light, take it to a qualified technician.
Specific triggers to act on immediately include:
- The check engine light stays on or flashes
- Brake pedal feels soft, spongy, or sinks toward the floor
- Unusual noises - grinding, clunking, squealing - especially when braking or turning
- Visible fluid leaks under the parked vehicle
- Significant vibration at highway speeds
- Overheating indicated on the temperature gauge
A standard workshop visit covers more ground than most drivers realize. Our overview of what happens during a routine service walks through exactly what technicians inspect and why. Knowing this helps you ask better questions and understand what's included in any service quote you receive.
Tracking Your Service History
Every time your vehicle is serviced - whether by a shop or yourself - record it. A basic log should capture the date, odometer reading, work performed, and any parts replaced. This doesn't need to be elaborate: a notebook in the glovebox or a simple spreadsheet both work.
A complete service history matters for several reasons. It helps your mechanic spot patterns - for example, if a fluid keeps running low between services, that points to a leak or consumption issue rather than normal use. It also protects you when selling the vehicle, since documented upkeep is a concrete signal of how well it was cared for.
Our article on why the maintenance paper trail matters explains what to track and the simplest ways to stay consistent. If you ever extend your vehicle ownership into a classic or specialty vehicle, those records become even more significant - gaps in service history are one of the rookie mistakes that catch first-time classic car buyers off guard.
Start the habit now, with your first vehicle. It costs almost nothing and pays dividends throughout your ownership - and beyond.
Your Vehicle Owner's Manual
The definitive source for your vehicle's specific service intervals, fluid specifications, and maintenance requirements. Always prioritize manufacturer guidance over generic advice.
Maintenance Log Template
A simple spreadsheet or paper log template for recording service dates, mileage, work performed, and parts replaced. Keeping consistent records supports resale value and informed repair decisions.
Tire Pressure Gauge
A basic handheld pressure gauge allows you to check all four tires and your spare in minutes. Digital versions offer easy reading; analog gauges are durable and require no batteries.